In almost all sports and hobbies, skill and physical fitness aren’t the only things that require maintenance. Your tools, gear, and sportswear are all equally in need of constant care and attention, especially in a sport such as cycling, where the make and quality of your mountain bike are crucial to your performance. The most experienced cyclists consider their bikes an extension of themselves.
Cleaning your mountain bike regularly not only preserves its appearance – it also prevents the untimely onset of corrosion and material failure. Not everyone may be a fan of cleaning, especially after riding a muddy trail, but once you get into the groove, you will find that it’s not such a daunting task after all.
What happens if you neglect to clean your mountain bike?
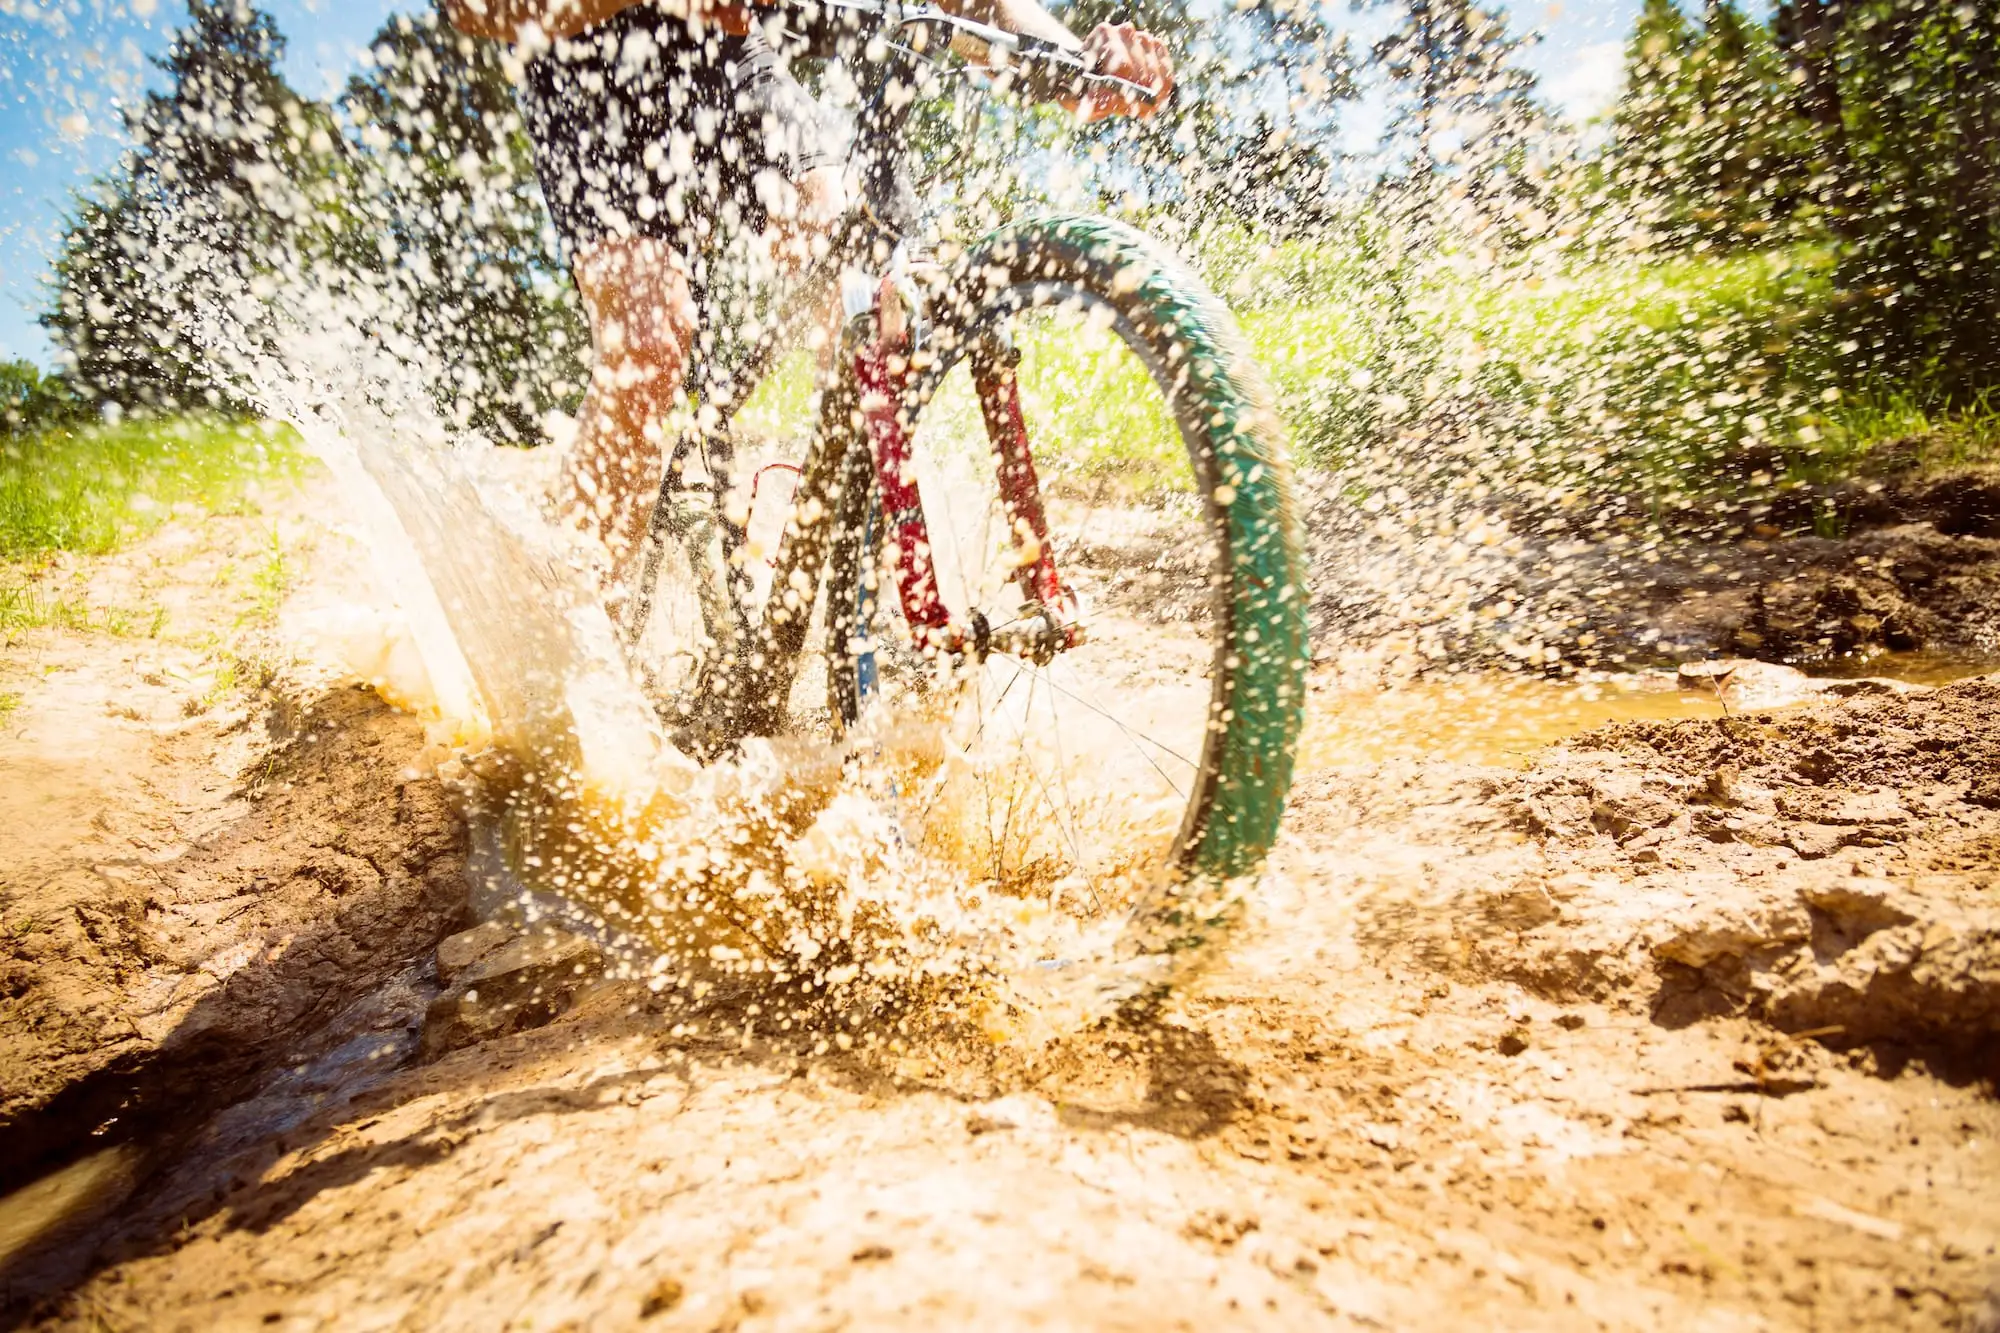
Bike-riding can be a gritty sport. Touring and bikepacking often take you to remote areas that do not have concrete roads. The accumulation of mud or dirt, road salt, oil, and even fly in the grooves of your tires and on the bike frame degrade the paint job and metalwork. Small particles of dirt cause the metal to chip or become brittle over time (physical degradation). Moisture from road salt, oil, and mud speeds up the process of oxidation (chemical degradation) which result in the formation of rust on the metal components.
Need some tips on how to get started? We’ve got you covered.
What you need
- Hose (or bucket of water)
- Rags
- Brushes (both soft- and hard-bristled)
- Detergent or all-purpose cleaner
- Degreaser
- Chain lubricant
All of these items are available in hardware stores, save for the chain lubricant, which can be found in bike shops.
Step-by-step guide
1. Prepare the space
You will find that arranging the space and laying out all the materials before cleaning the mountain bike actually helps you work faster. Look for a spot, preferably on concrete and with some sort of drain nearby, to position your bike. Using a stand to hold your mountain bike will ease out the whole cleaning process but leaning it upright against a wall or pole works too.
2. Spray down the bike
With your hose, spray down the whole frame to remove and loosen excess or free muck but remember to use low pressure – high-pressure jets of water will damage the material. Spray down the tires as well; it should be enough to wash the debris off.
3. Add the cleaner
Spray the all-purpose cleaner on all parts of the bike. If you are using mild liquid detergent, dilute an appropriate amount with water and transfer it to a spray bottle. These all-purpose cleaners and detergents contain surfactants that break down the grease, as well as other substances that are difficult to remove with just water.
After dousing the bike with detergent, wipe off the dirt with a sponge or gently scrub the gunk off with a soft-bristled brush. Make sure to hit even the tiniest of corners.
Finish this step by washing off the detergent with water.
4. Clean the drivetrain
The drivetrain is composed of all the important small parts: the chain, gears, pedal, derailleurs, and cranks. Since these parts have many grooves and holes, a lot of mud and grease can accumulate in them.
As with step 3, spray some detergent or cleaner on the drivetrain and scrub off the dirt with a hard-bristled brush.
Next, to clean the chainrings, spin the pedals backward. This will allow the gears and chain to spin. Hold the brush against them, moving it up and down then left to right, to hit all the hard-to-reach corners. Remove the mixture of detergent and dirt by washing the parts down.
5. Dry off the bike
Do a final inspection of all parts of the bike, especially the nooks, to ensure that no dirt is left behind. Once you find that the mountain bike is spotless, wipe down the excess water with a clean rag or cloth, making certain that all parts are covered. Do another round by wiping the bike with a dry, clean cloth.
6. Lubricate
Lubrication is essential for the suspension and drivetrain. Pump up a few dollops of lubricant and place spread it all over the suspension. If some remaining muck comes out, simply wipe it off.
For the drivetrain, remove excess water from the chain (if there is any) by pedaling back. Add some lubricant to the chain subsequently and wipe off the excess with a clean cloth. Apply lubricant to your derailleurs as well. Don’t forget the pivot points!
Take care not to put too much lubricant: its stickiness will let more dust and dirt stick to the parts. If you have disc brakes, never apply lubricant on them. You only need water and a piece of cloth.
And you’re done! Don’t overdo it, though, as cleaning too much may actually do more harm than good. You don’t have to clean your mountain bike this thoroughly after every ride, only when the grime has built a significant and obvious layer.
Cleaning your bike gives you a better view of its current condition, allowing you to spot potential weak spots before the damage sets in, so take advantage of it. Your bike is your best friend on many adventures, so take utmost care of it.