Pro Tips on How to Adjust Bike Brakes
We are all well acquainted with that squeaky or tight maladjusted bike brakes dilemma. But do you know what’s the bigger issue here? One word: SAFETY. Riding with a bike brake that’s not working perfectly can be risky — either for you, for the people around you or both.
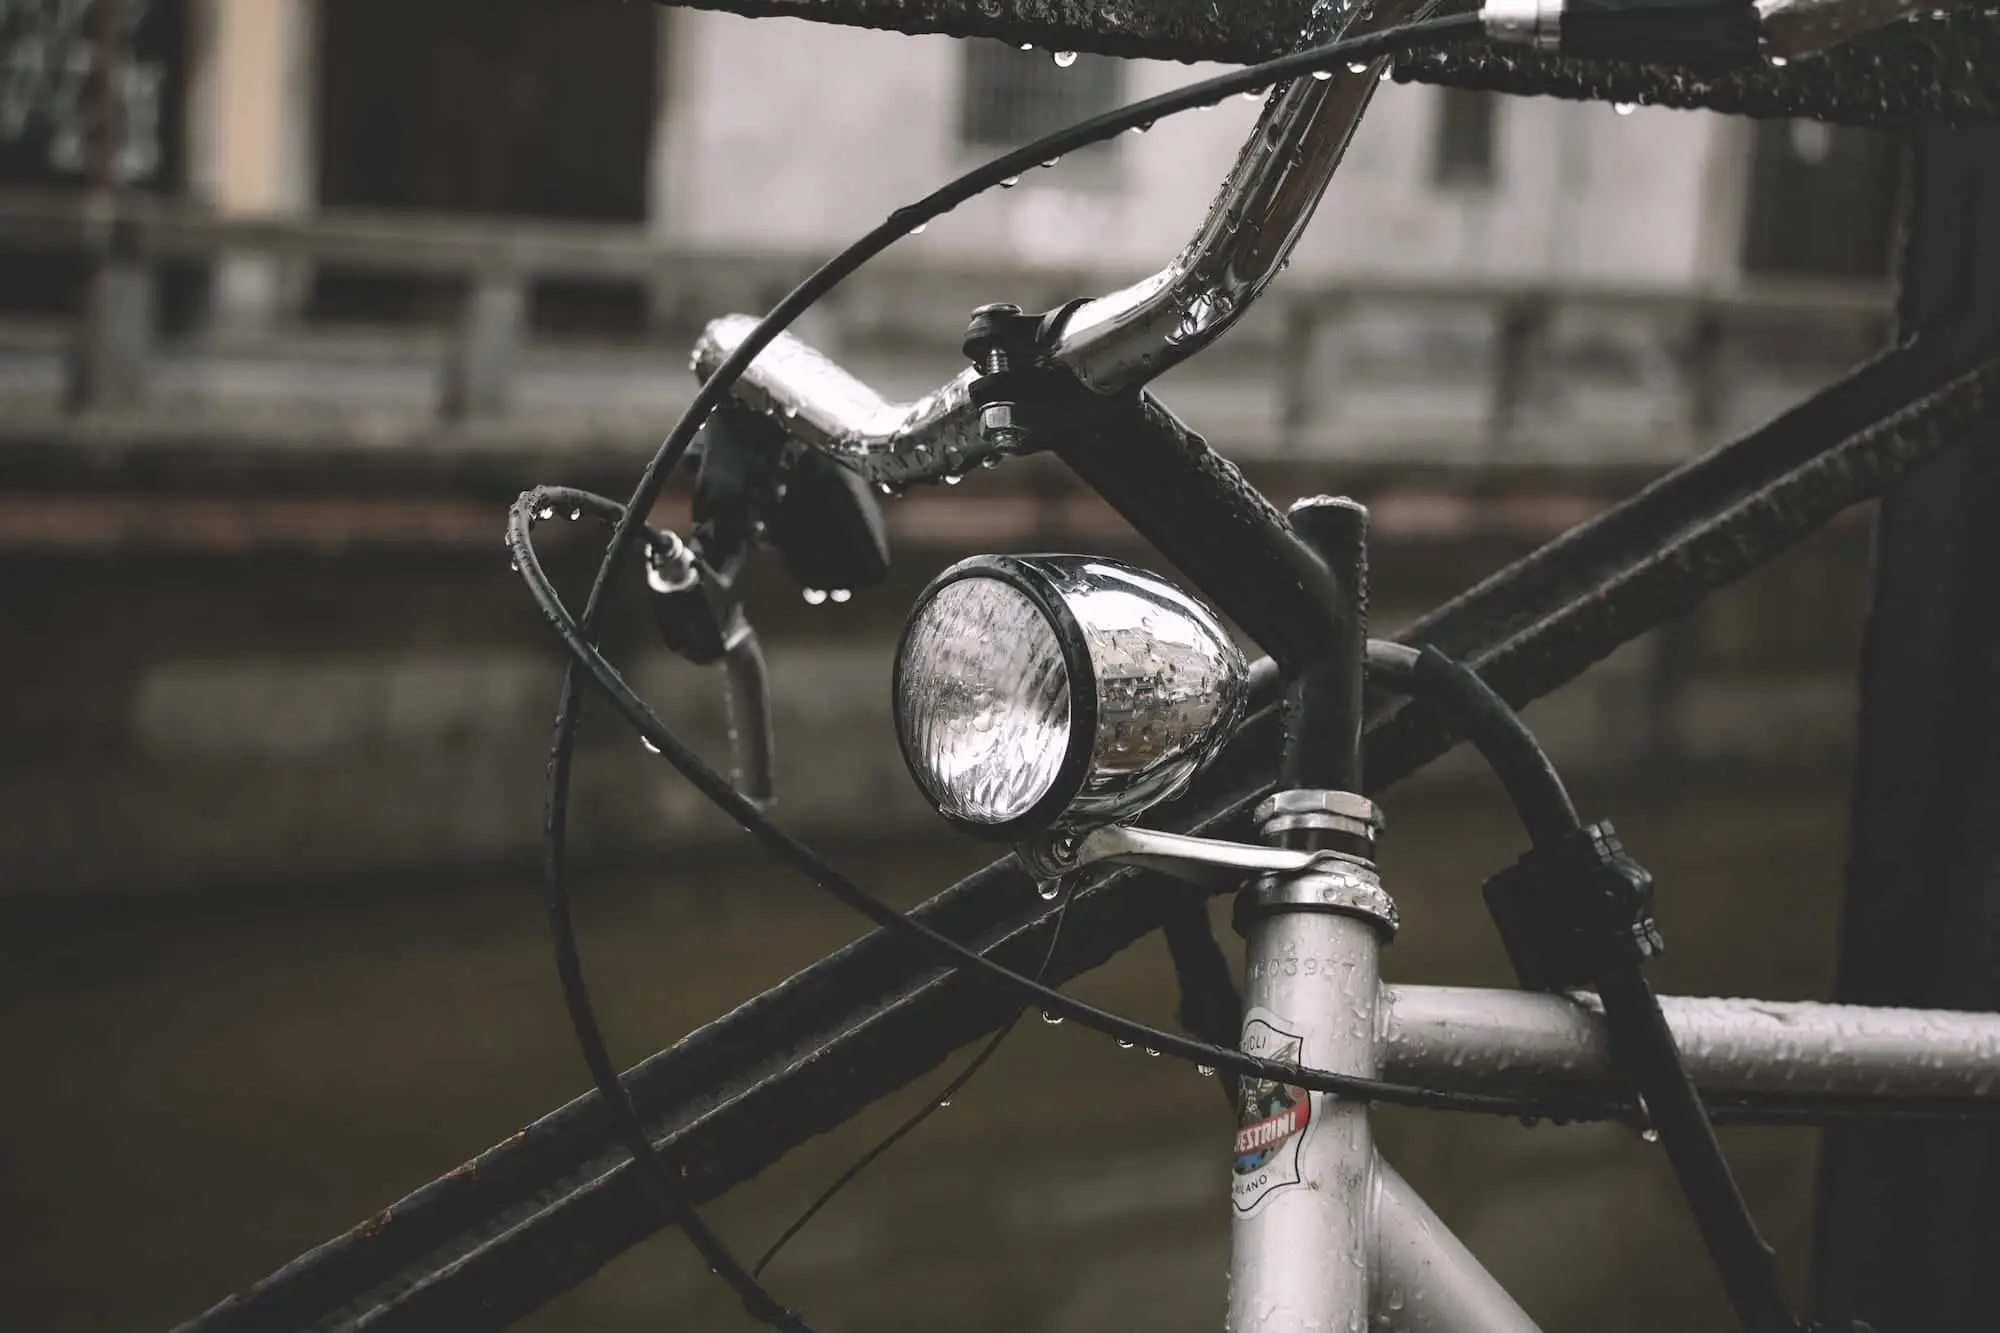
There are three types of bike brakes on the market today. And below, we’ll share some pro tips on how to adjust these bike brakes so you can go out and ride with confidence. Read on!
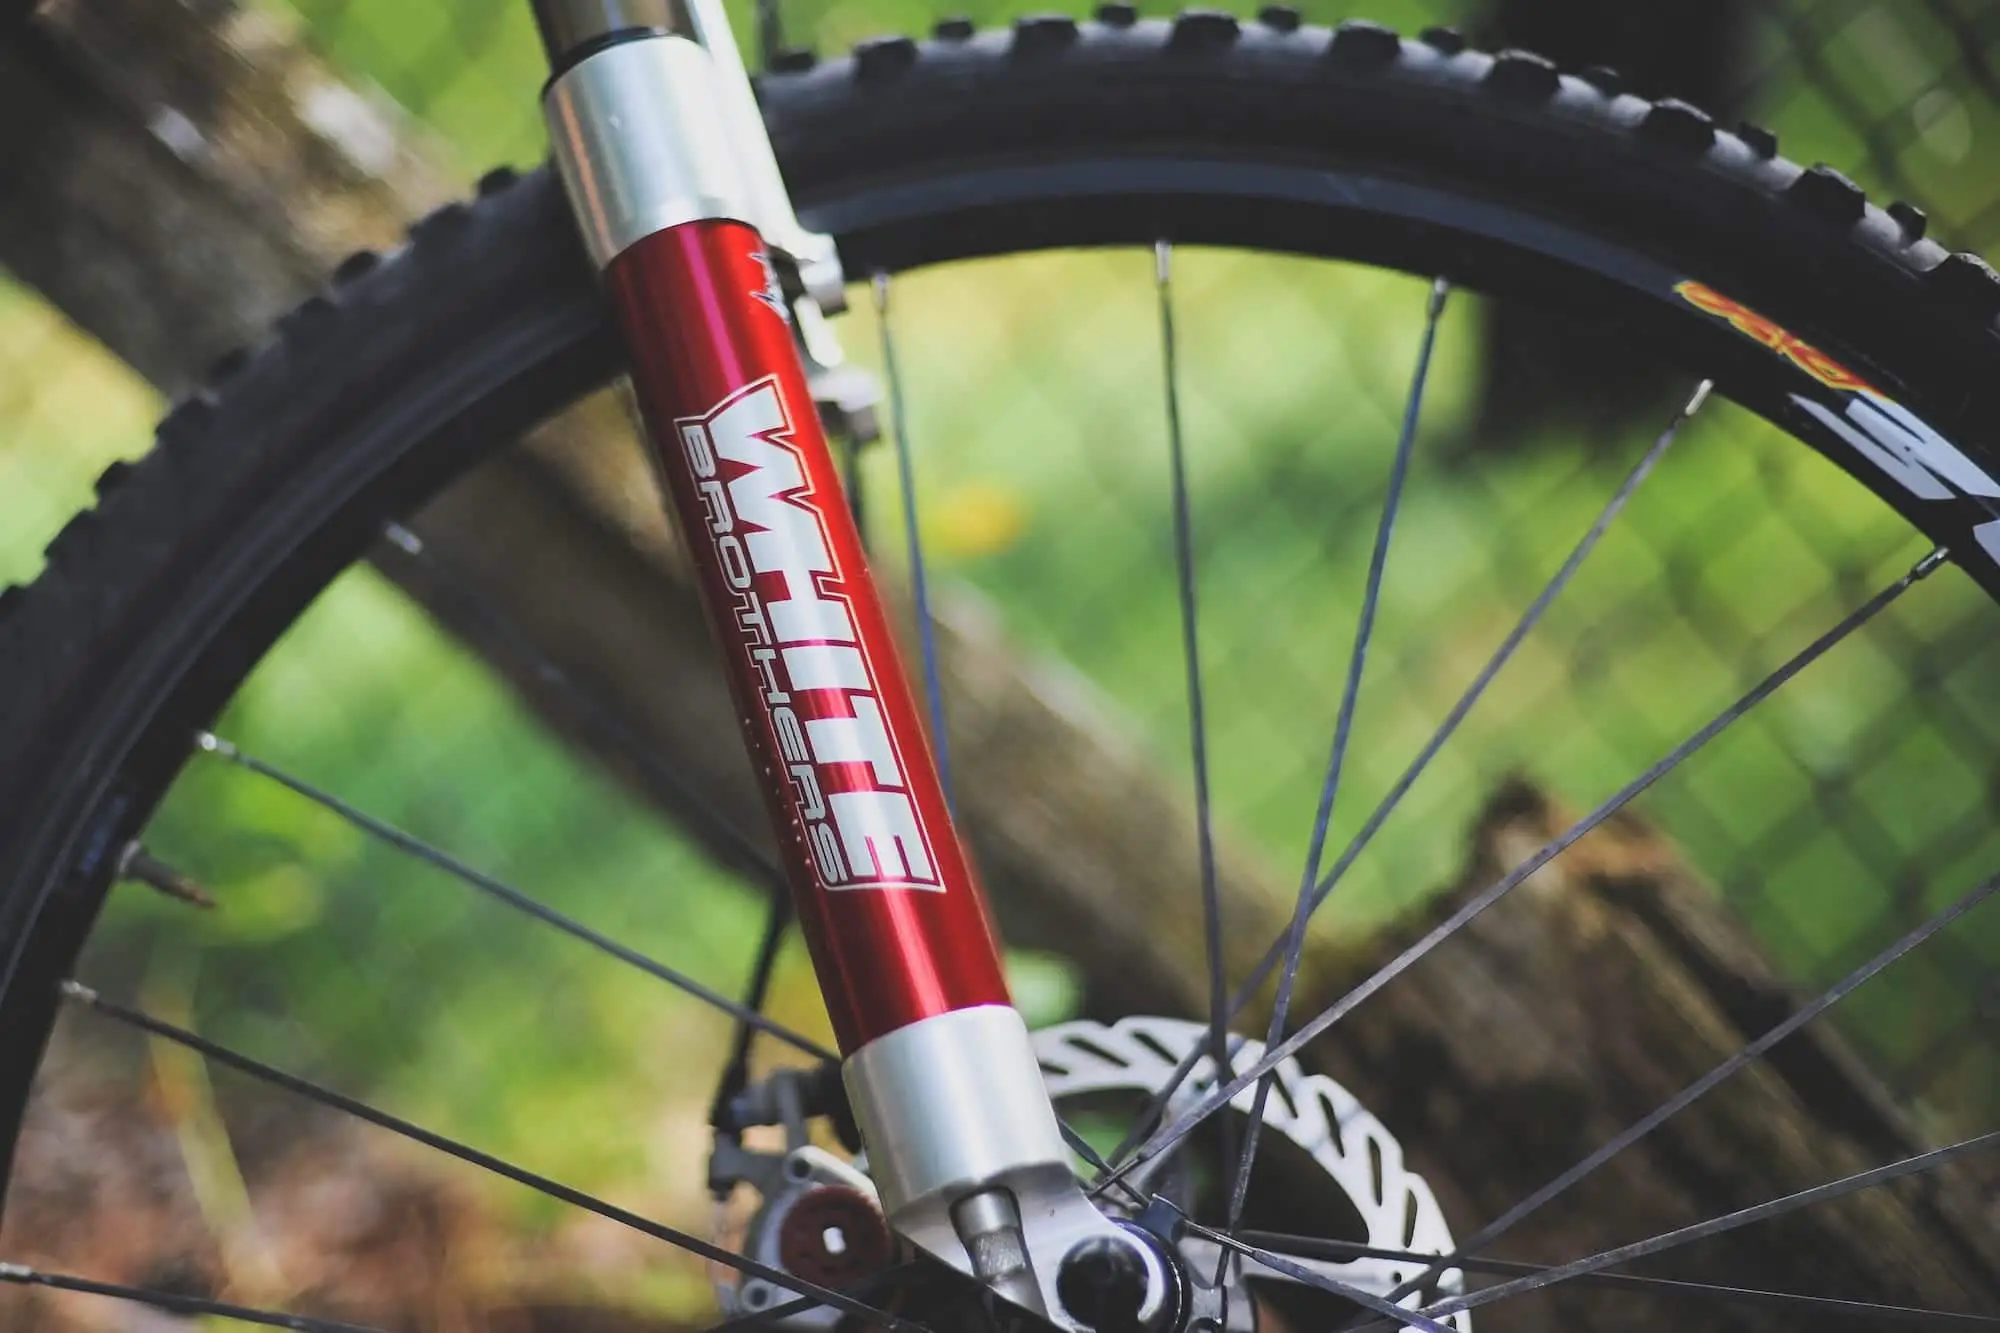
How to Adjust Disk Brakes
Disc brakes are common to cyclocross bikes, road bikes, and mountain bikes. They may look intimidating at first, but truth is, these bike brakes are the easiest to adjust.
Fixing Brake Rubs
Suffering from brake rub? You can fix this problem by following these steps:
- Loosen the two bolts that connect the disc brakes and the bike frame.
- Squeeze the brakes to engage the rotor.
- Tighten the bolts again while keeping the brakes squeezed.
Squeezing the brakes while tightening the bolts keep the rotor dead center and this quick fix can solve 75% of your bike brake problems.
Checking Brake Pads
When will you know that it’s time to replace your brake pads? Check the side profile of your pad and see if you can spot the following:
- The spring that holds the brake pads together looks too close to the brake rotor.
- Pistons are stuck out to their limit.
- You can’t see the pad anymore.
If you see one of these three signs, it’s time to replace your brake pads. Replacing your bike brake pads is easy. Just undo the pin that holds the pad in place. The brake pads should come out from the top of the brake. You can then replace it with a new one.
How to Adjust Rim Brakes
Rim brakes are pretty common too. Adjustments can be made using the barrel adjuster that’s found on top of the brake lever. Loosening or tightening this adjuster can solve the majority of your rim brakes issues.
Fixing Brake Rubs
If your bike brake moves as you ride, chances are, the bolt that connects the rim brake to the bike frame is not tight enough. You can fix this using the same steps we’ve outlined above for disc brakes.
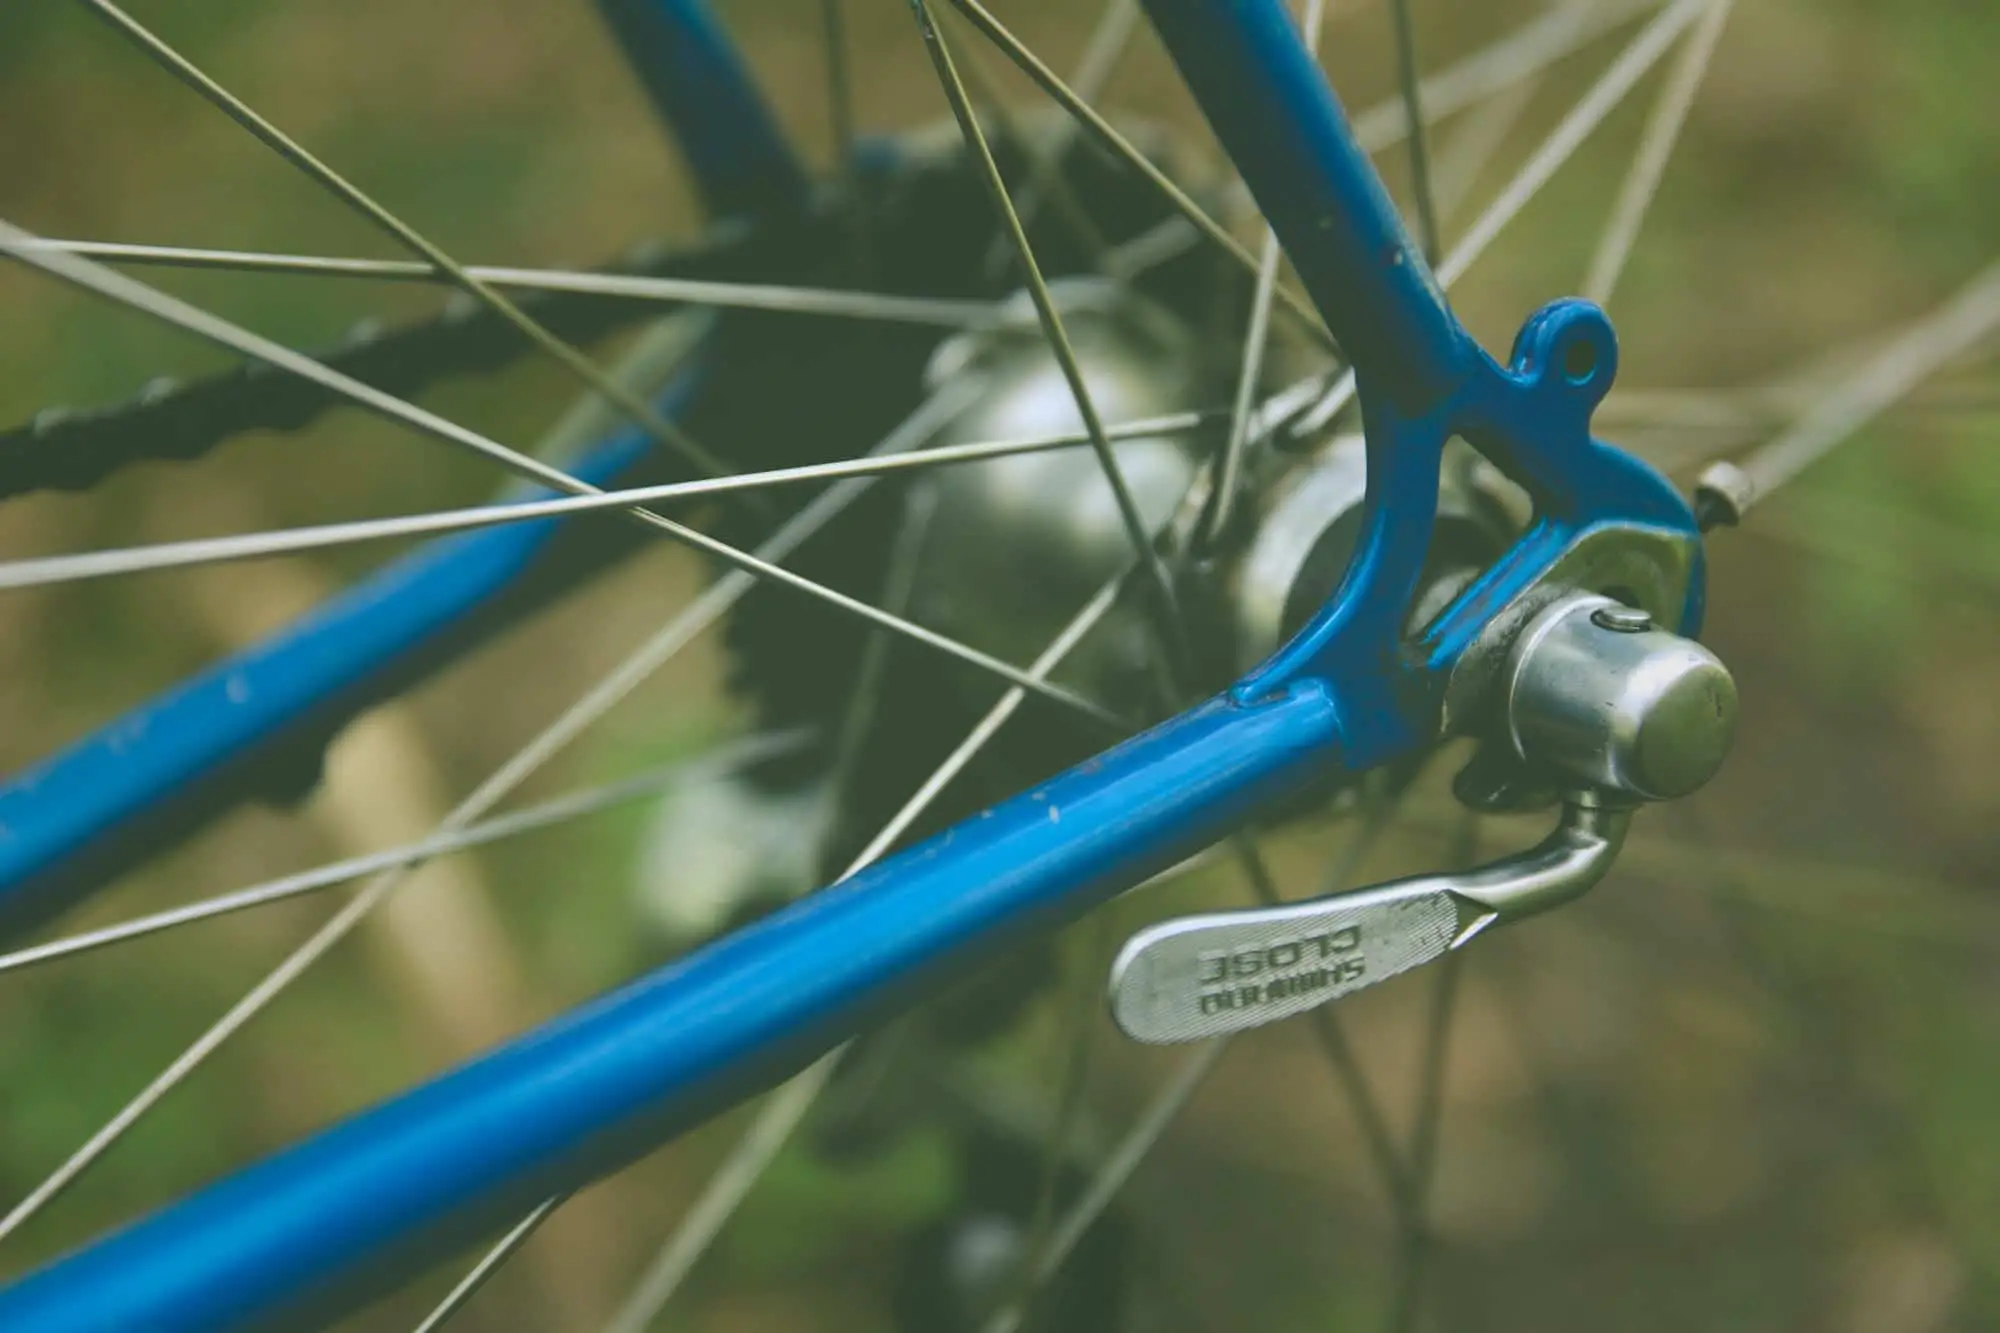
Fixing Loose Brakes
Your bike brakes are too loose if you need to pull way too hard just to engage the brakes. This issue takes a simple adjustment. If adjusting the barrel adjustment doesn’t help, tighten the cable using the following steps:
- Loosen the nut and bolts at the end of the cable using an Allen key.
- Slightly pull a bit more of the cable out.
- Retighten the nut and bolts.
Fixing Brake Pads
If your brake pads tend to hit the same spot on the rim on either side, they’re probably not aligned correctly. Again, the first step is to adjust the barrel adjuster first. Tighten the brakes. Once they’re tight enough, loosen the bolts that keep them connected to the bike and make minor adjustments. This should be easy because the bike rim will keep them in place while you make the necessary adjustments. It’s like having a third hand!
How to Adjust Cantilever Brakes
Cantilever brakes are for old-school bikes. This type of bike brakes uses wires to control the brake pads. Applying pressure to the levers pull up the wires and engages the brakes. They may look easy but cantilever brakes are actually the hardest to adjust. Why? Because they have to be set up perfectly to avoid brake chatter and to keep one brake pad from jamming into the rim while the other one floats on one side.
Symmetry is crucial when adjusting cantilever brakes. You have to make sure that the wire controlling both brake pads are the same length. The brake pads should also sit in exactly the same spot. Adjusting cantilever brakes don’t require a lot of tools. In most cases, all you need is an Allen key and a lot of patience. Expect lots of trial and error until you find the perfect balance.
BikeHint Pro Tip
When adjusting bike brakes always make sure that the wheel sits in the frame correctly. This is a common mistake. You will end up adjusting the bike brakes entirely wrong. The best way to make sure the wheel is seated correctly and not at an angle is flipping the bike upside down. You can also put it on a stand.
Get Pro Help
If you’re not confident with your handyman skills, you can always get professional help as a last resort. Obviously, there will be issues that you can’t DIY, like bleeding brakes, for example. If your bike brakes still don’t work as they should even after trying these tips, then there’s probably a problem with the other parts of your bike (i.e. wheels). Get a mechanic and save yourself a headache.
Remember that safety is important. Never ride with a broken bike brake.