Nobody likes a flat bicycle tire. But it happens to all of us. Fortunately, replacing a bicycle tire is easy. In this blog, we’ll divide the entire process of replacing a flat bike tire into 4 easy steps. Let’s begin.
Step 1: Take off the wheel
The first step in taking off the wheel is putting your bike on the side with the chain facing upwards. You can’t do this upright because the bike will fall over. If you don’t like resting your bike on its handlebars or seat, you can invest on a bike stand that will keep your bicycle upright while you are working on it.
If you are removing the back tire, adjust your gears to the smallest ring which is usually the outer gear. This will make it easier to remove the damaged tire. Take note that you don’t have to adjust the gear when removing the front tire.
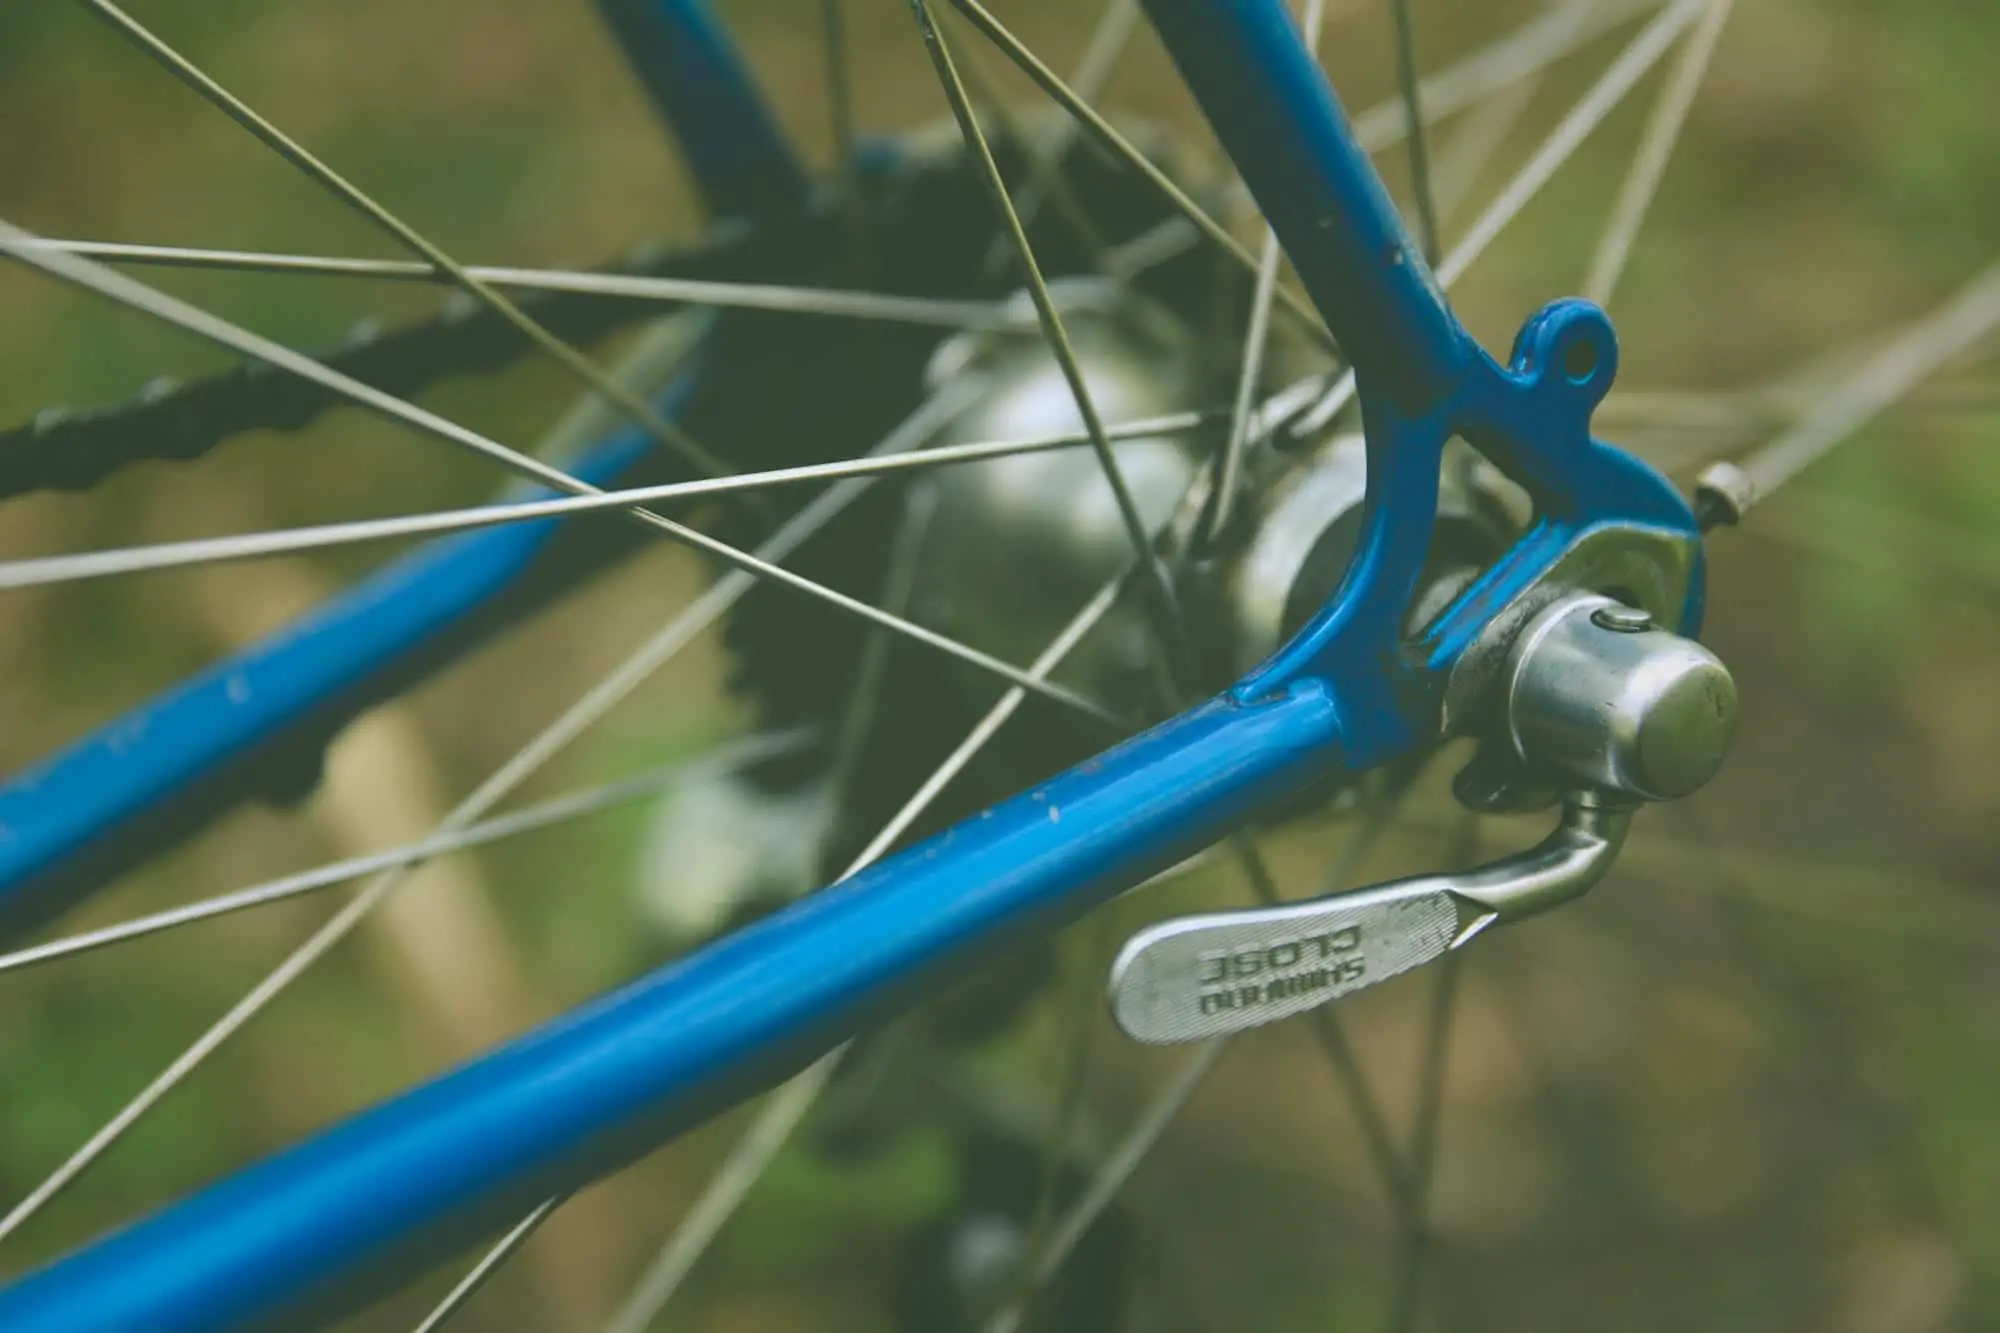
If your bike has a quick-release lever, open it by pulling up the lever and then turning it 180 degrees. Once loosened, remove the lever from the axle and set it aside. Some quick release levers don’t come off after turning it 180 degrees. If this is the case, just keep turning the lever until you can remove it.
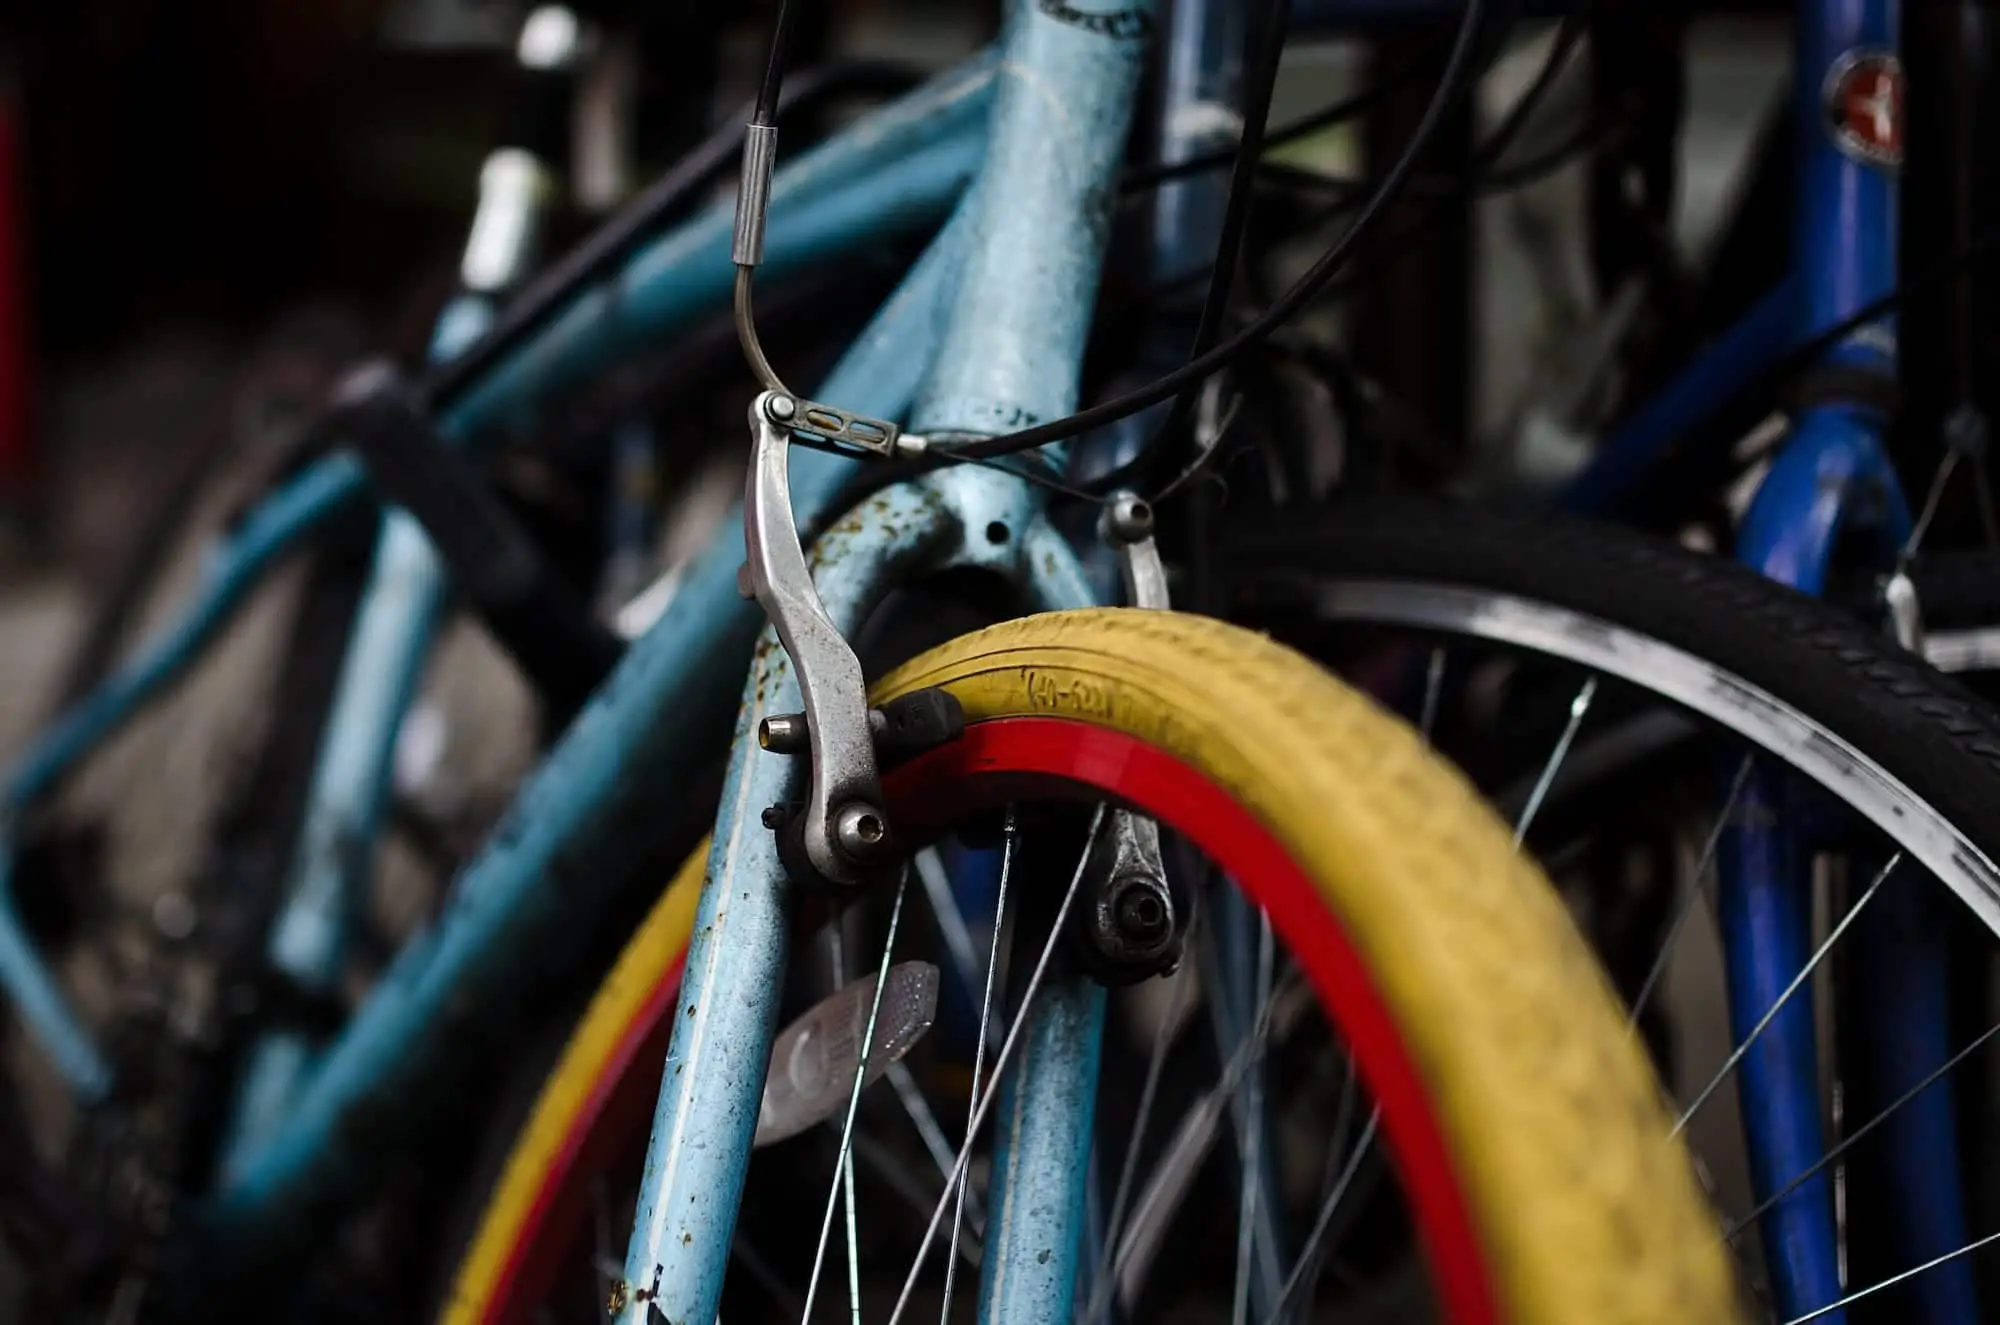
For bikes that don’t have a quick-release lever, you’ll need a wrench (usually 15mm) to loosen the nut. Remove the wheel nuts found on both sides of the bike. If it’s too hard, spray the nut with WD-40 or cooking spray.
If there are any brake cables, detach it. On modern bikes, brake cables usually come off with the quick-release lever. If your ride doesn’t have this feature, simply squeeze the brake calipers to release the cables.
The last step is to lift the wheel off the forked slot that supports it. You may need to wiggle the wheel as you remove it.
Step 2: Remove the tire and tube
Completely deflate the tire by loosening the air valve. For Schrader valves, press down on the plunger inside the valve using a small tool to release the air. If you have a Presta valve, simply unscrew the valve cap to release the air.
To release the tire from its frame, use the rounded edge of a tire lever. Hook it under the edge of your tire, pop it, and then pull the other end of the lever downwards. Hook this end to a wheel spoke to keep your tire popped up.
With the tire lever secure, use a second tire lever and work it around the tire. Insert it near the first one and go clockwise, pushing up as you go. Keep doing this until the tire is free from its frame. You should be able to pull the tube out from inside the tire now.
Step 3: Insert a new bicycle tire tube
Carefully unwrap the tube. Remove the dust cap, lock ring, and valve cover if there are any. Inflate the tube slightly until it holds its shape. Once done, set the tube aside and check the insides of the tire for any punctures or sharp objects like glass, thorn, or nail. Never put the new tube in without checking for punctures!
Once you’ve thoroughly checked the insides of your tire, press the tube inside using your fingers. The new bike tube should easily follow the shape of the tire. Make sure there are no kinks, twists, or bends. If you’re having trouble replacing the tube, take it out and start over. In some cases, you may need to let out some air.
Buy a new set of tires ONLY when the treads are so worn out or if the damage is beyond repair. This might mean that the puncture is too large, the tire is dry rotted, or it’s just very old. When changing tires, always change both so that they’ll match. Not doing so increases your risks of blowing out one of them, especially the old one.

Step 4: Putting the tire back on
Your tire should have an arrow that points which direction the treads should face. Make sure this arrow is facing forward. Tires that can go either way don’t have this arrow. You don’t need any special bike tools when replacing the tire — just your fingers.
Once the tire is perfectly in place and the air valve is secure, inflate your bike tire to the correct air pressure. The correct air pressure should be listed on the side of your tire. You can use either a manual air bike pump or an electric pump.
Now that your tire is inflated to the correct pressure, it’s time to slide the wheel back onto the bike. Replace the quick release lever or nuts. Tighten and make sure that the wheel spins freely. If the brakes are still detached, reconnect them by pressing the calipers and sliding the brakes into place. Before riding out, make sure to check if the brakes are working perfectly to avoid accidents down the road.
Pro Tips and Warnings When Replacing a Bike Tire
- Always fix your bicycle tire on a flat surface.
- Visit a local bike shop if you are having trouble fixing the tire yourself. They may charge you a fee.
- If possible, fix your tire indoors so it’s easier to keep clean.
- Never over-inflate your tire tube as it may cause a blowout and an accident when you are riding. Your tire wall usually has the recommended bike pressure listed.
- Be careful when removing parts of your bike. Any damage may need further repair or replacement.
There you have it! I hope you find this how to replace a bike tire guide useful! Happy biking!