Bikepacking is driven by the spirit of exploration. As early as the sun rises, riders set out with their bikes and gear to traverse uncharted routes and take in the beauty of the natural world. Many will be drawn in by the promise of spontaneity – that any bikepacking trip is borne out of mere enthusiasm – but, really, this adventure is fifty percent research and planning your bikepacking route.
Decades ago, printed maps may have been the primary tool for navigation, but in the digital era, we have smartphones, smartwatches, bike computers and other GPS devices at our disposal. Our generation has mapping apps and crowdsourced forums to consult for information on how to get started on mapping out a bikepacking route. Experienced riders may insist that bikepacking is an art and even craft their own routes.
Planning a bikepacking route may be difficult without knowing where to begin (literally) and what tools are available, so we created this simple guide for you.
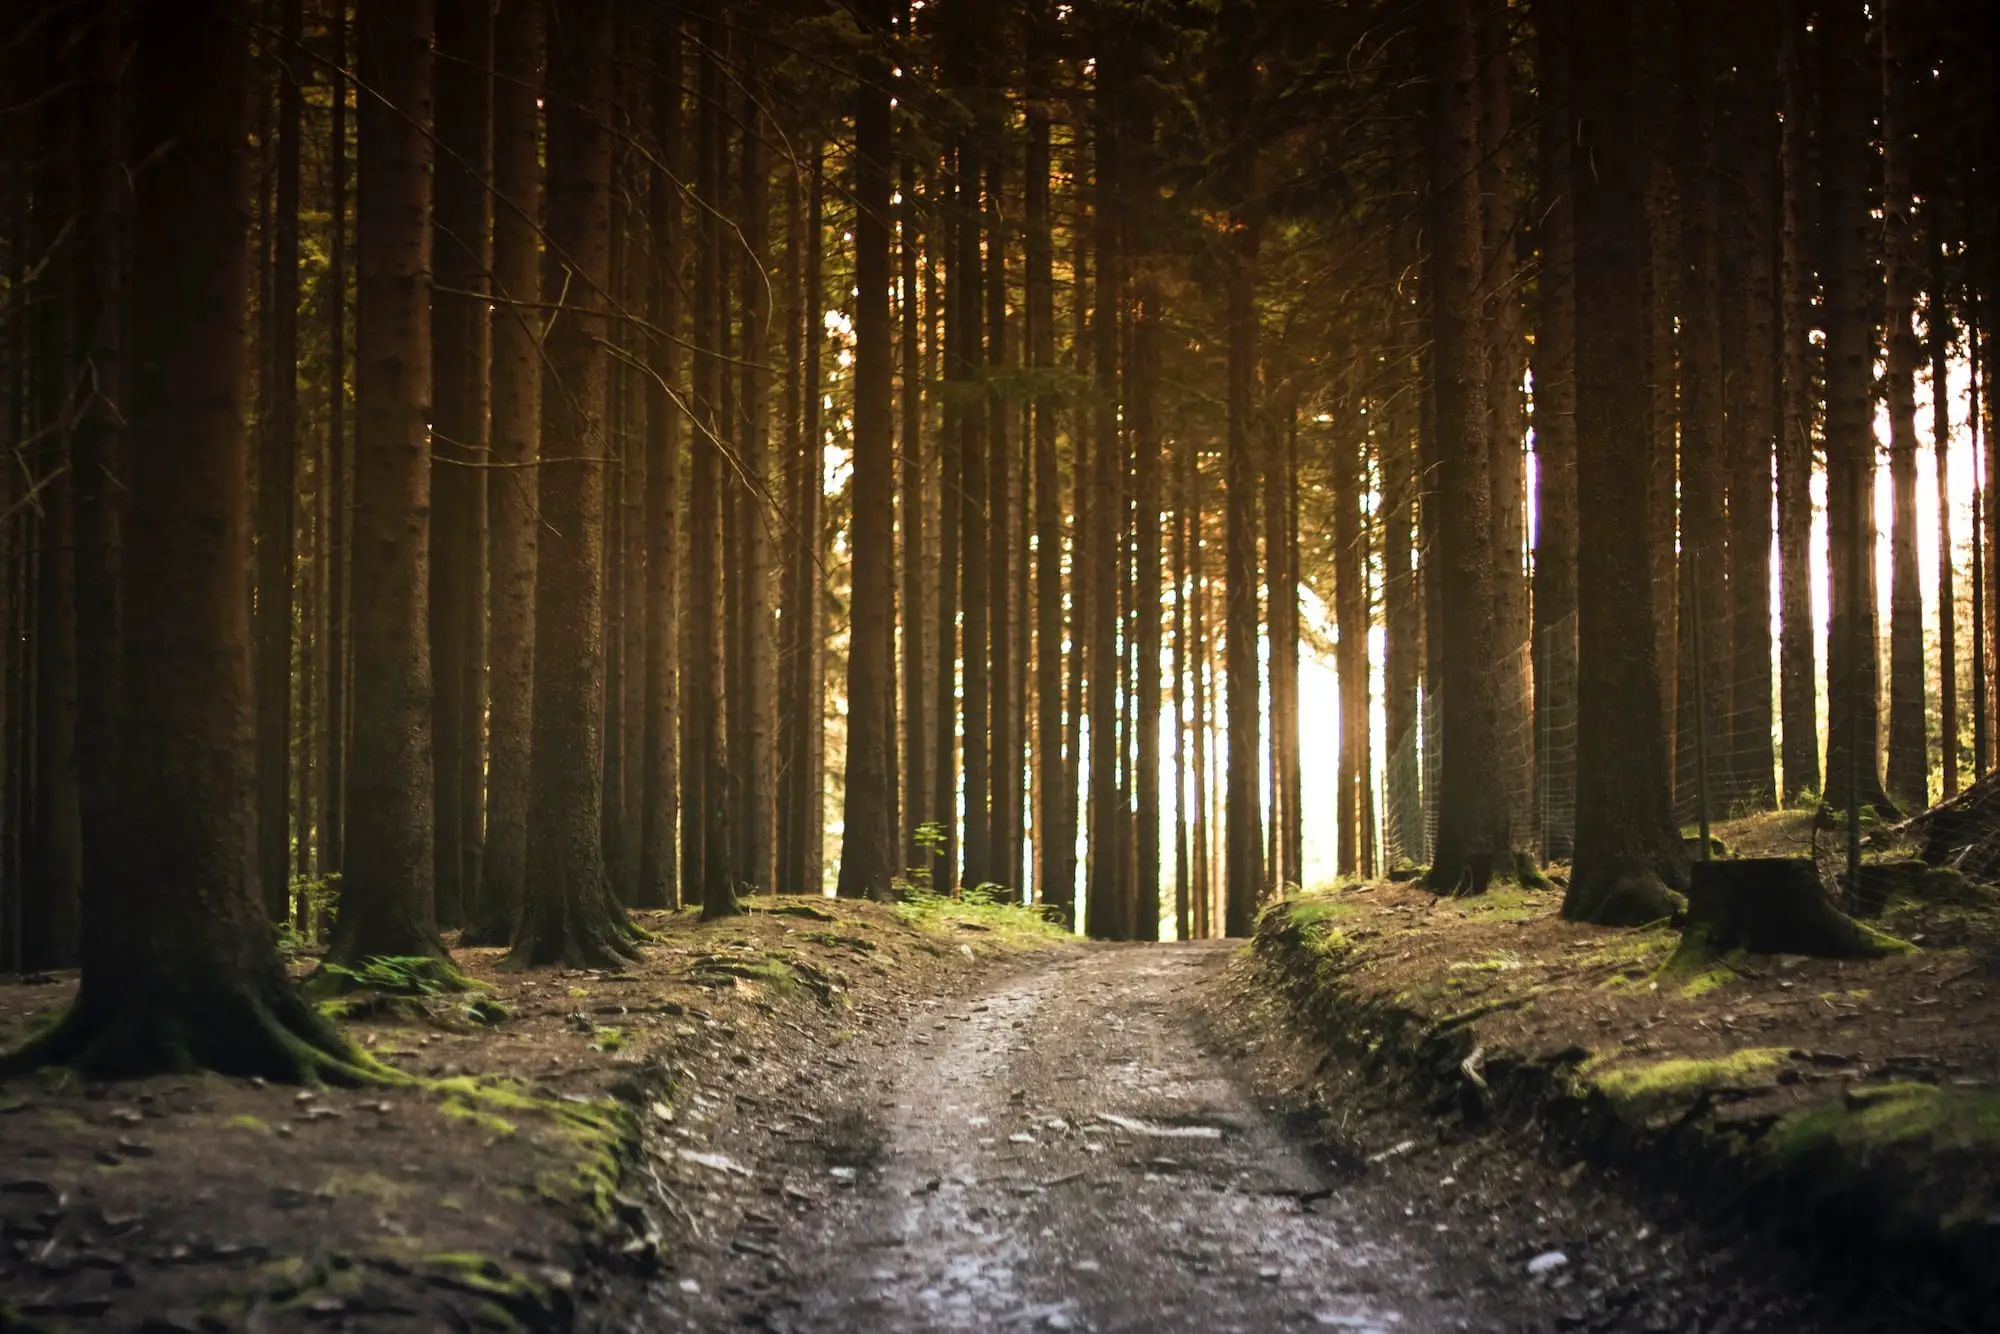
Exhaust your resources.
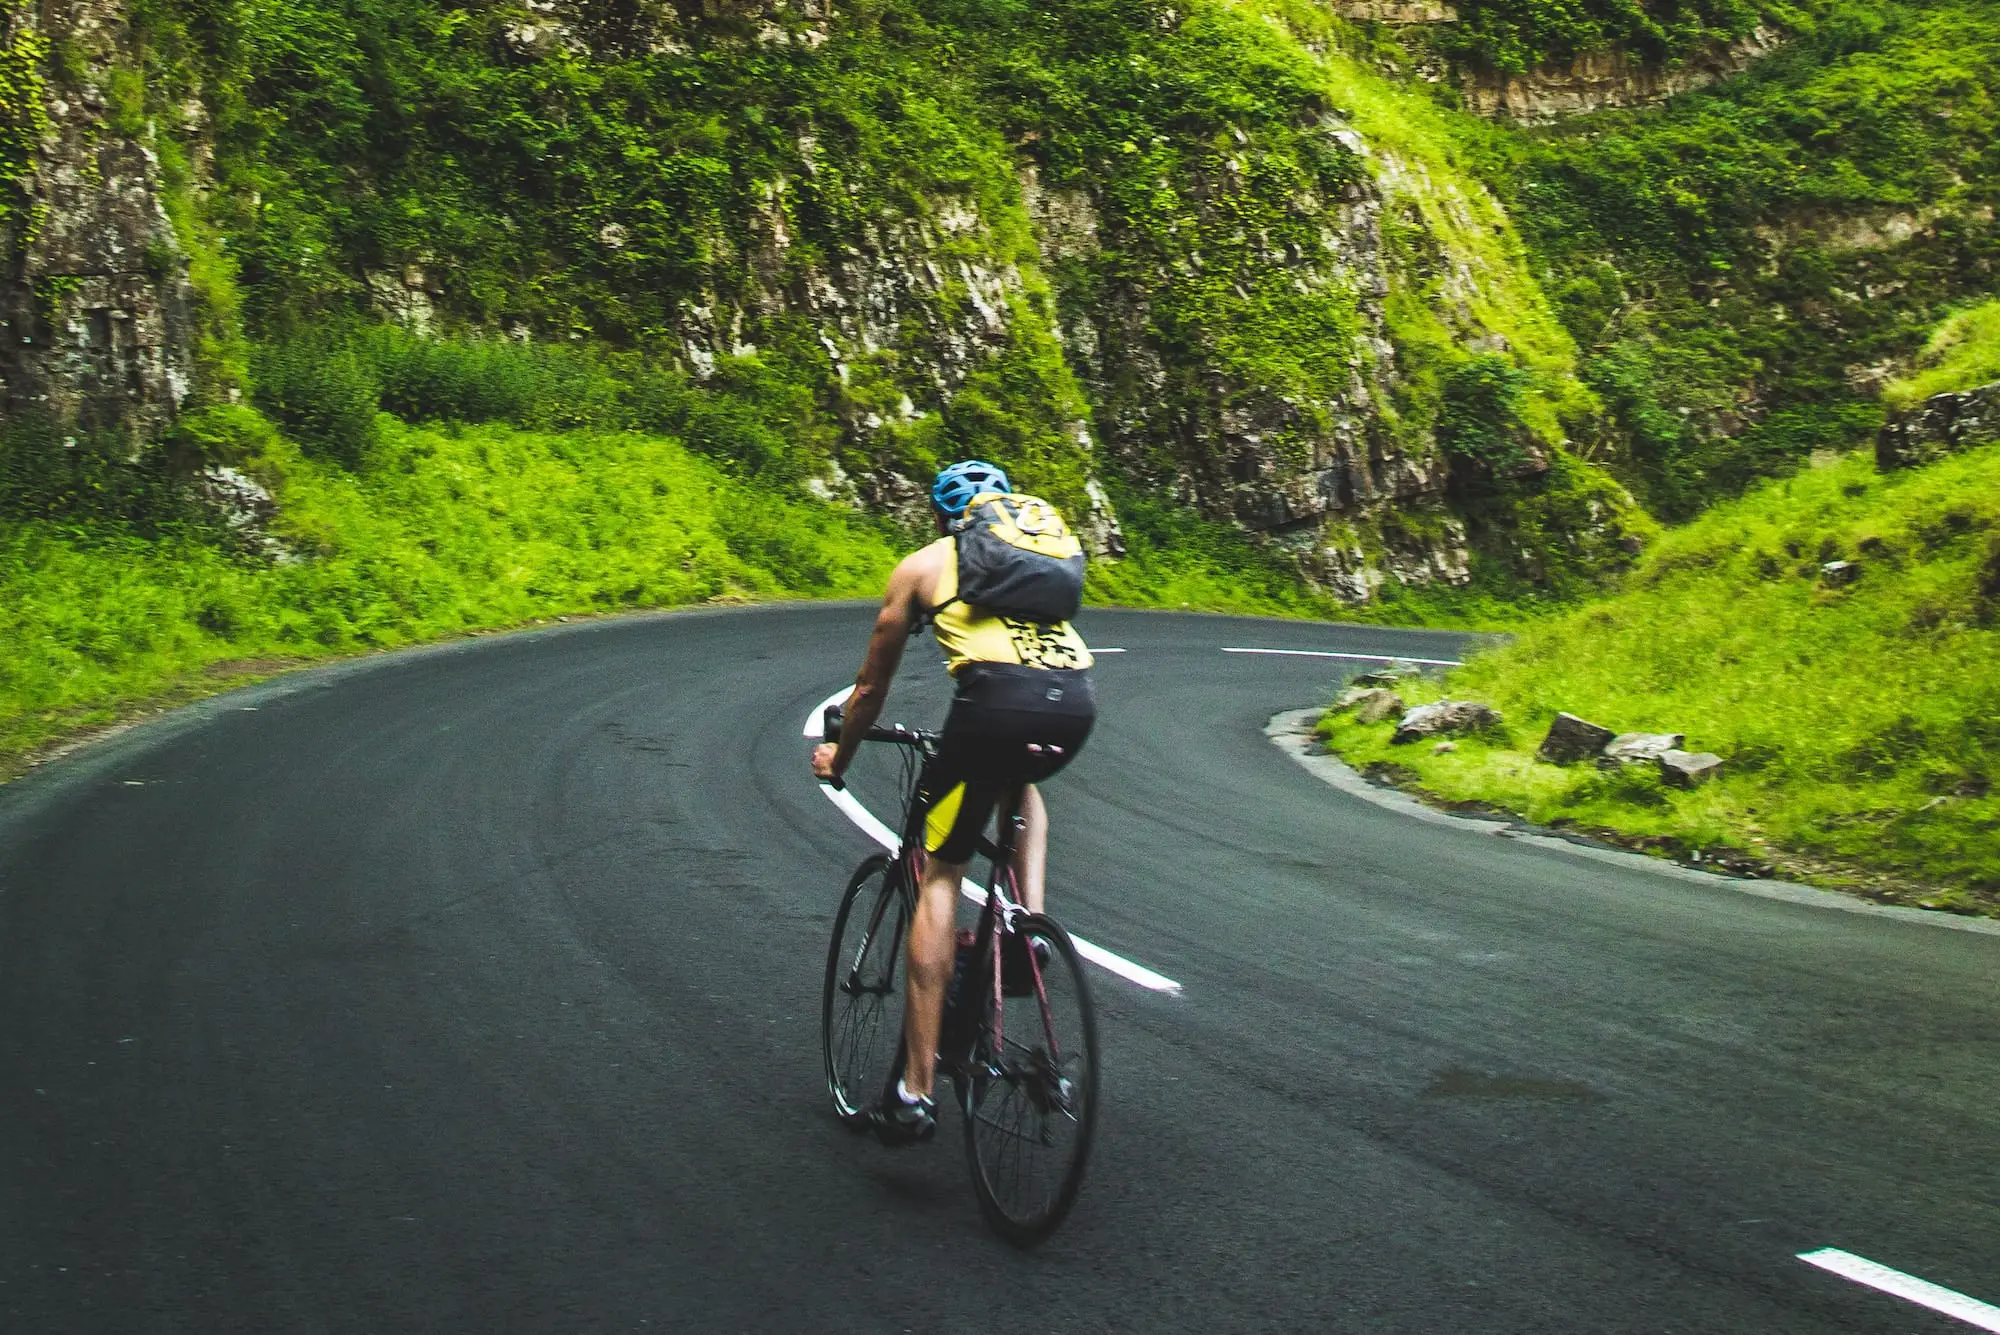
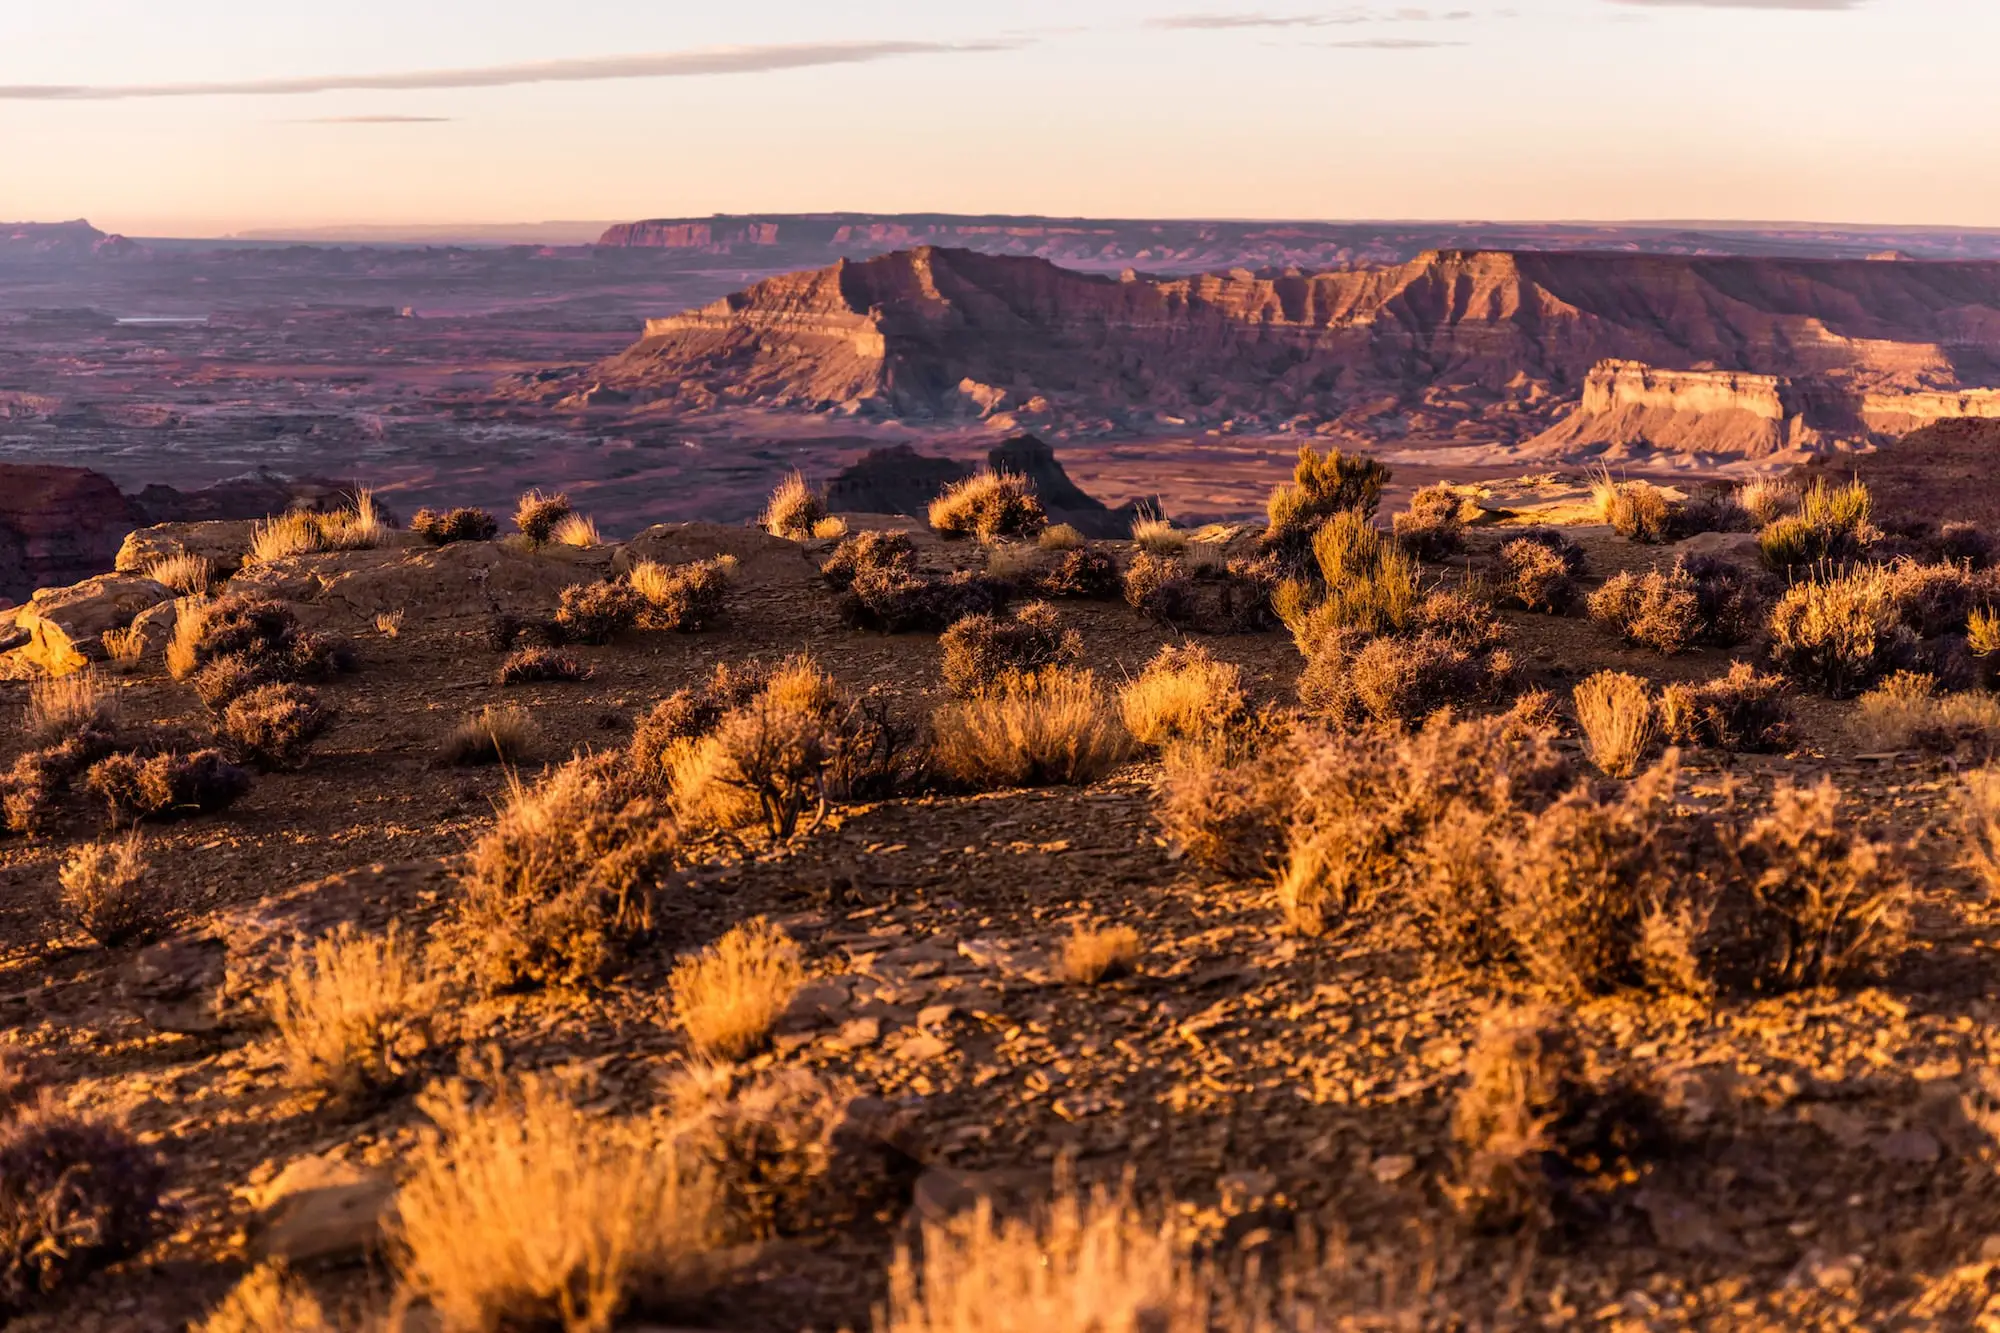
What makes a bikepacking trip memorable? Many riders like to keep their trips short, somewhere between 80 to 200 miles (50 during the weekends) in a loop. The route should take you to a specific landscape or a “main destination” to give you something to look forward to but, at the same time, throw in a few surprises along the way.
During this brainstorming phase, make sure you have a map or state atlas ready. Think about how long you want your trip to last – will it be 2 days or 2 weeks long? Will you be exploring the woodland areas near home or will you be flying to another state? Choose scaled maps that contain information about topography, landmarks, and important road signage within the vicinity of the trail. National Geographic has both a dedicated website and physical copy of its trail maps.
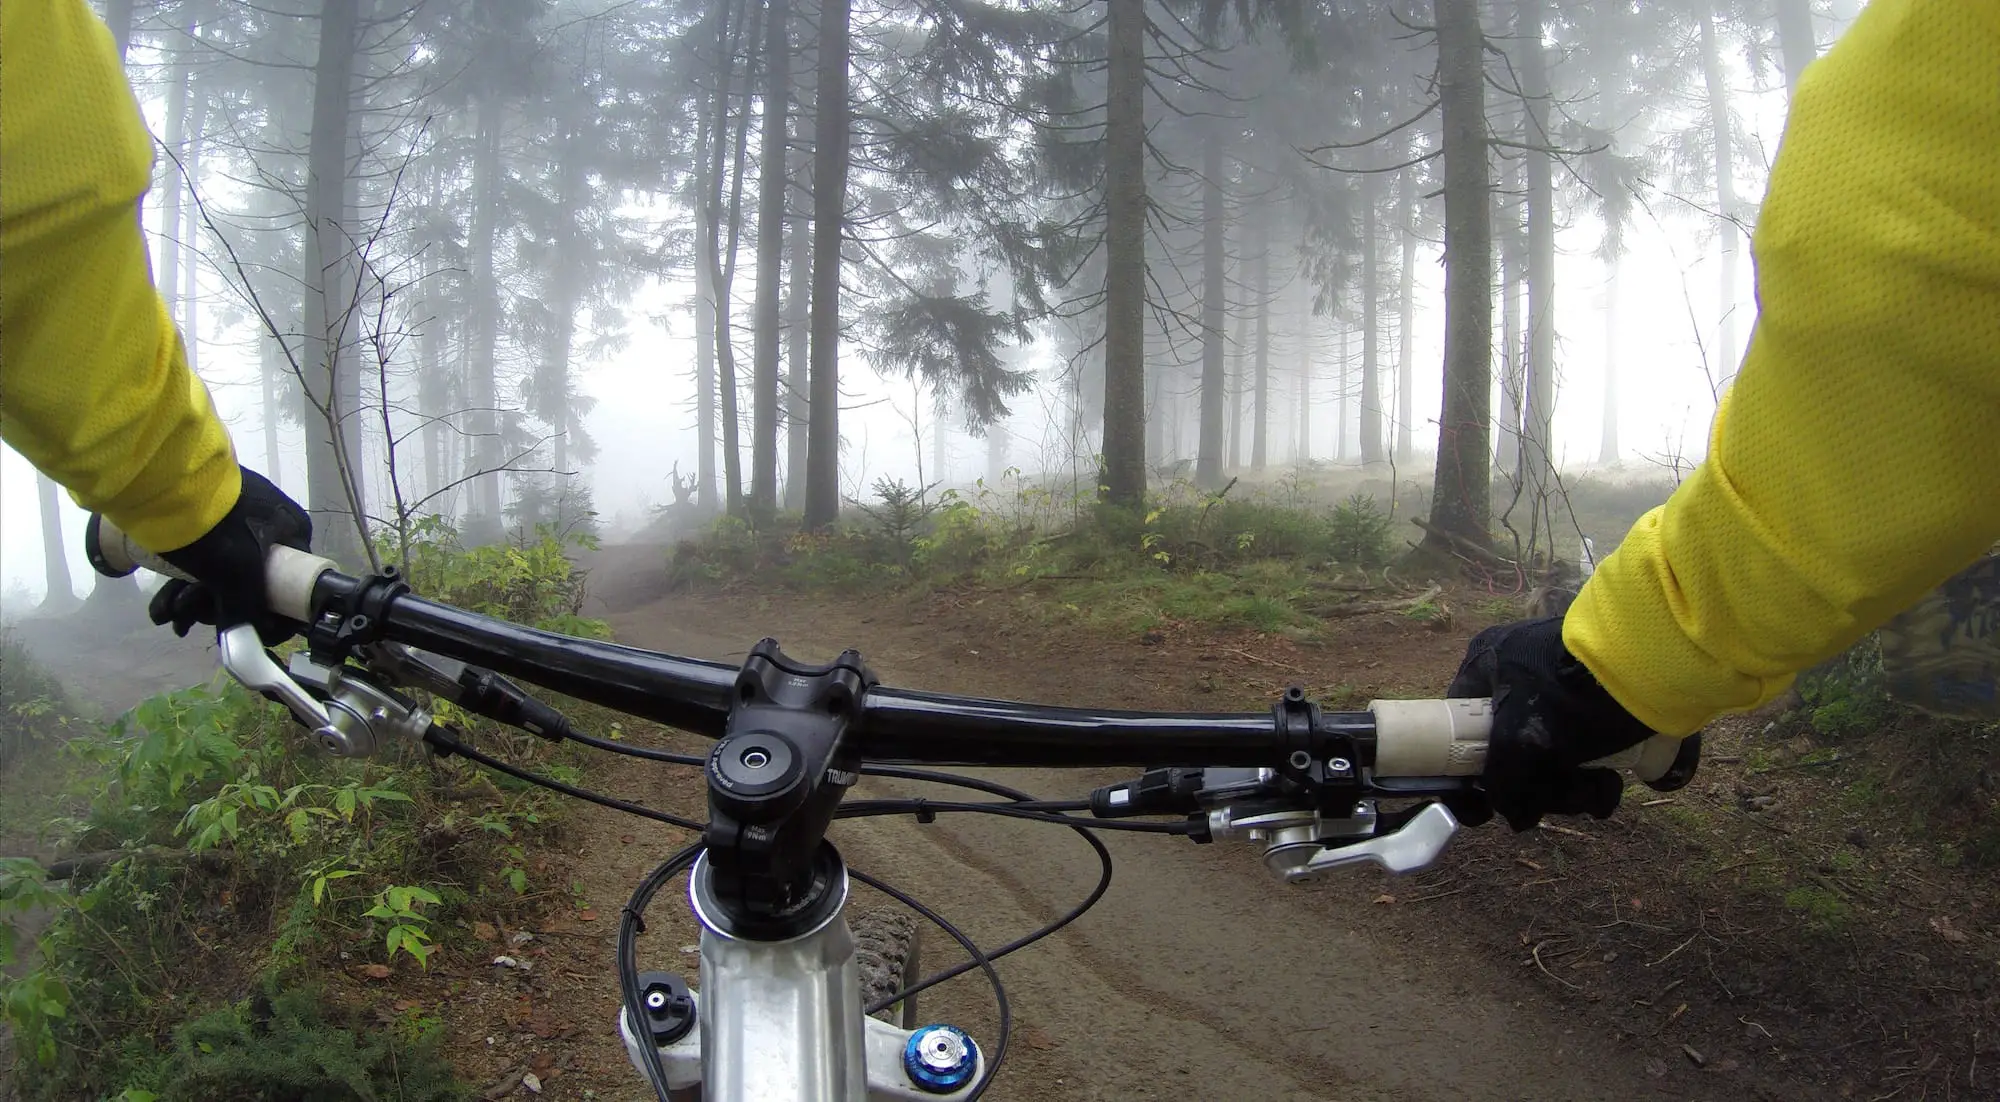
If you aren’t confident in your route-making skills yet, you can begin with known singletrack and mountain bike routes. Learn the general features of a track and start there. There are many resources available online, and some even come with an app for your phone: TrailForks, MTB Project, and Bikepacking.com offer comprehensive information on famous and even new trails. TrailForks has an app that enables offline GPS navigation.
A useful tip is to follow manmade paths. Forest service roads constitute a large part of established trails and are distributed throughout the country. They are rugged (but rideable) and vary from rocky to muddy textures. Most of these roads are used frequently during tours but a number have been reduced to singletrack from neglect.
Footpaths and equestrian trails are also suitable for your wheels. If your research takes you to deep repositories of online knowledge, you may even find that abandoned railways have become a staple in bikepacking trails over the years.
Finally, don’t forget to check the source that is closest to you – social media! Ask around in forums like Reddit or join a Facebook group. In forums, you will gain knowledge that isn’t limited to the books. Other people’s feedback and opinions are just as valuable as the information on maps and guides when planning your bikepacking route.
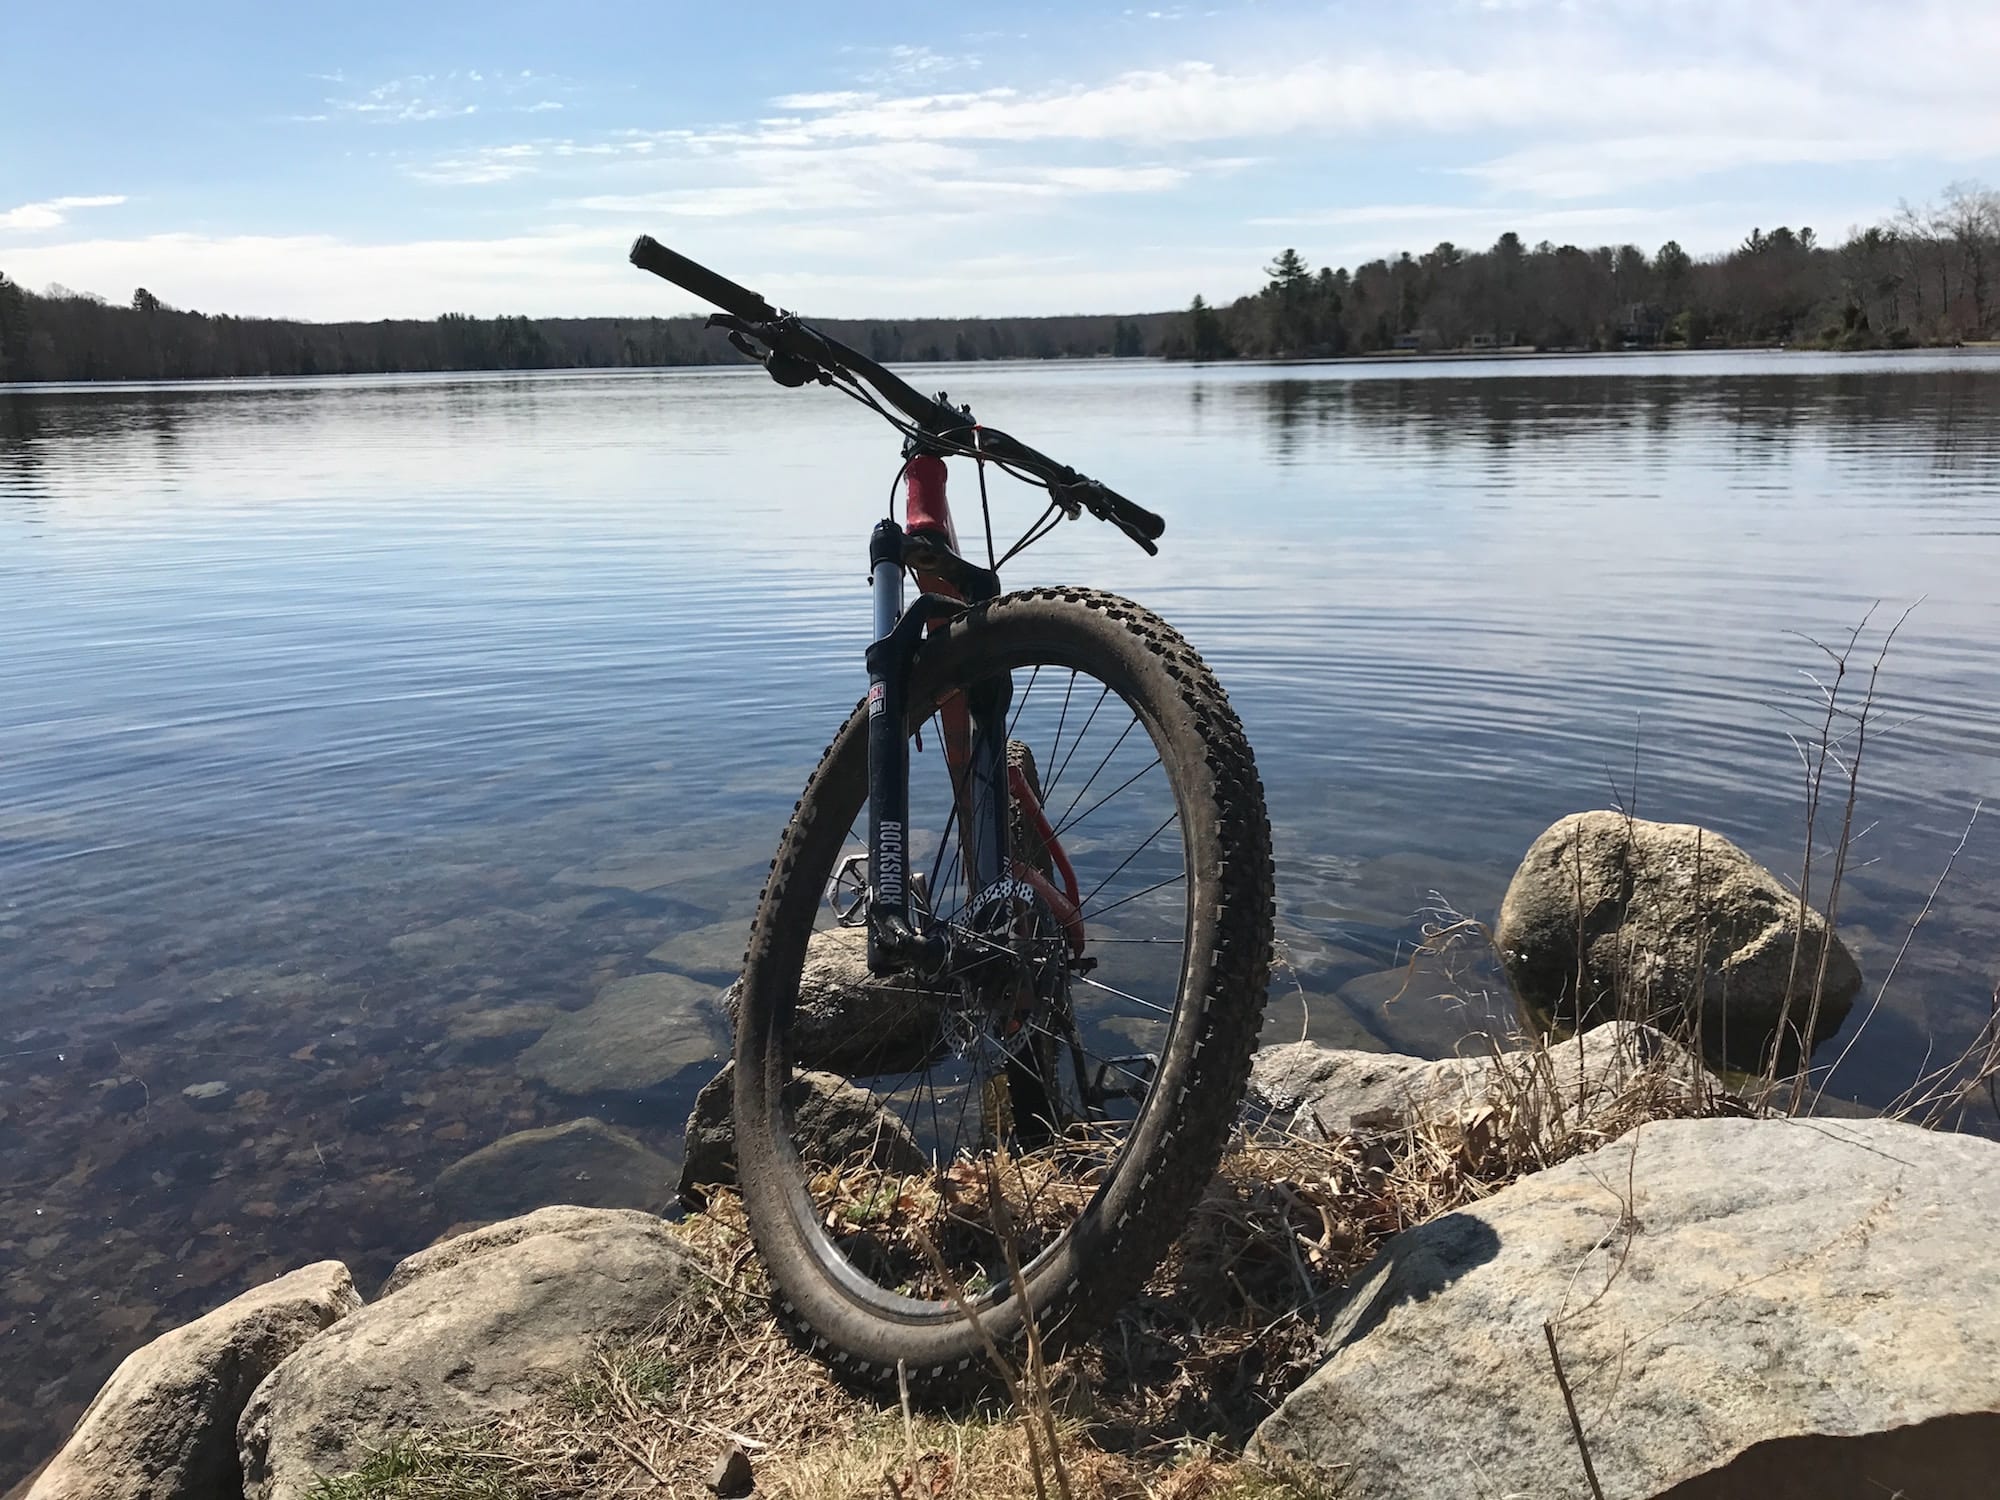
It’s all in the details of your bikepacking route.
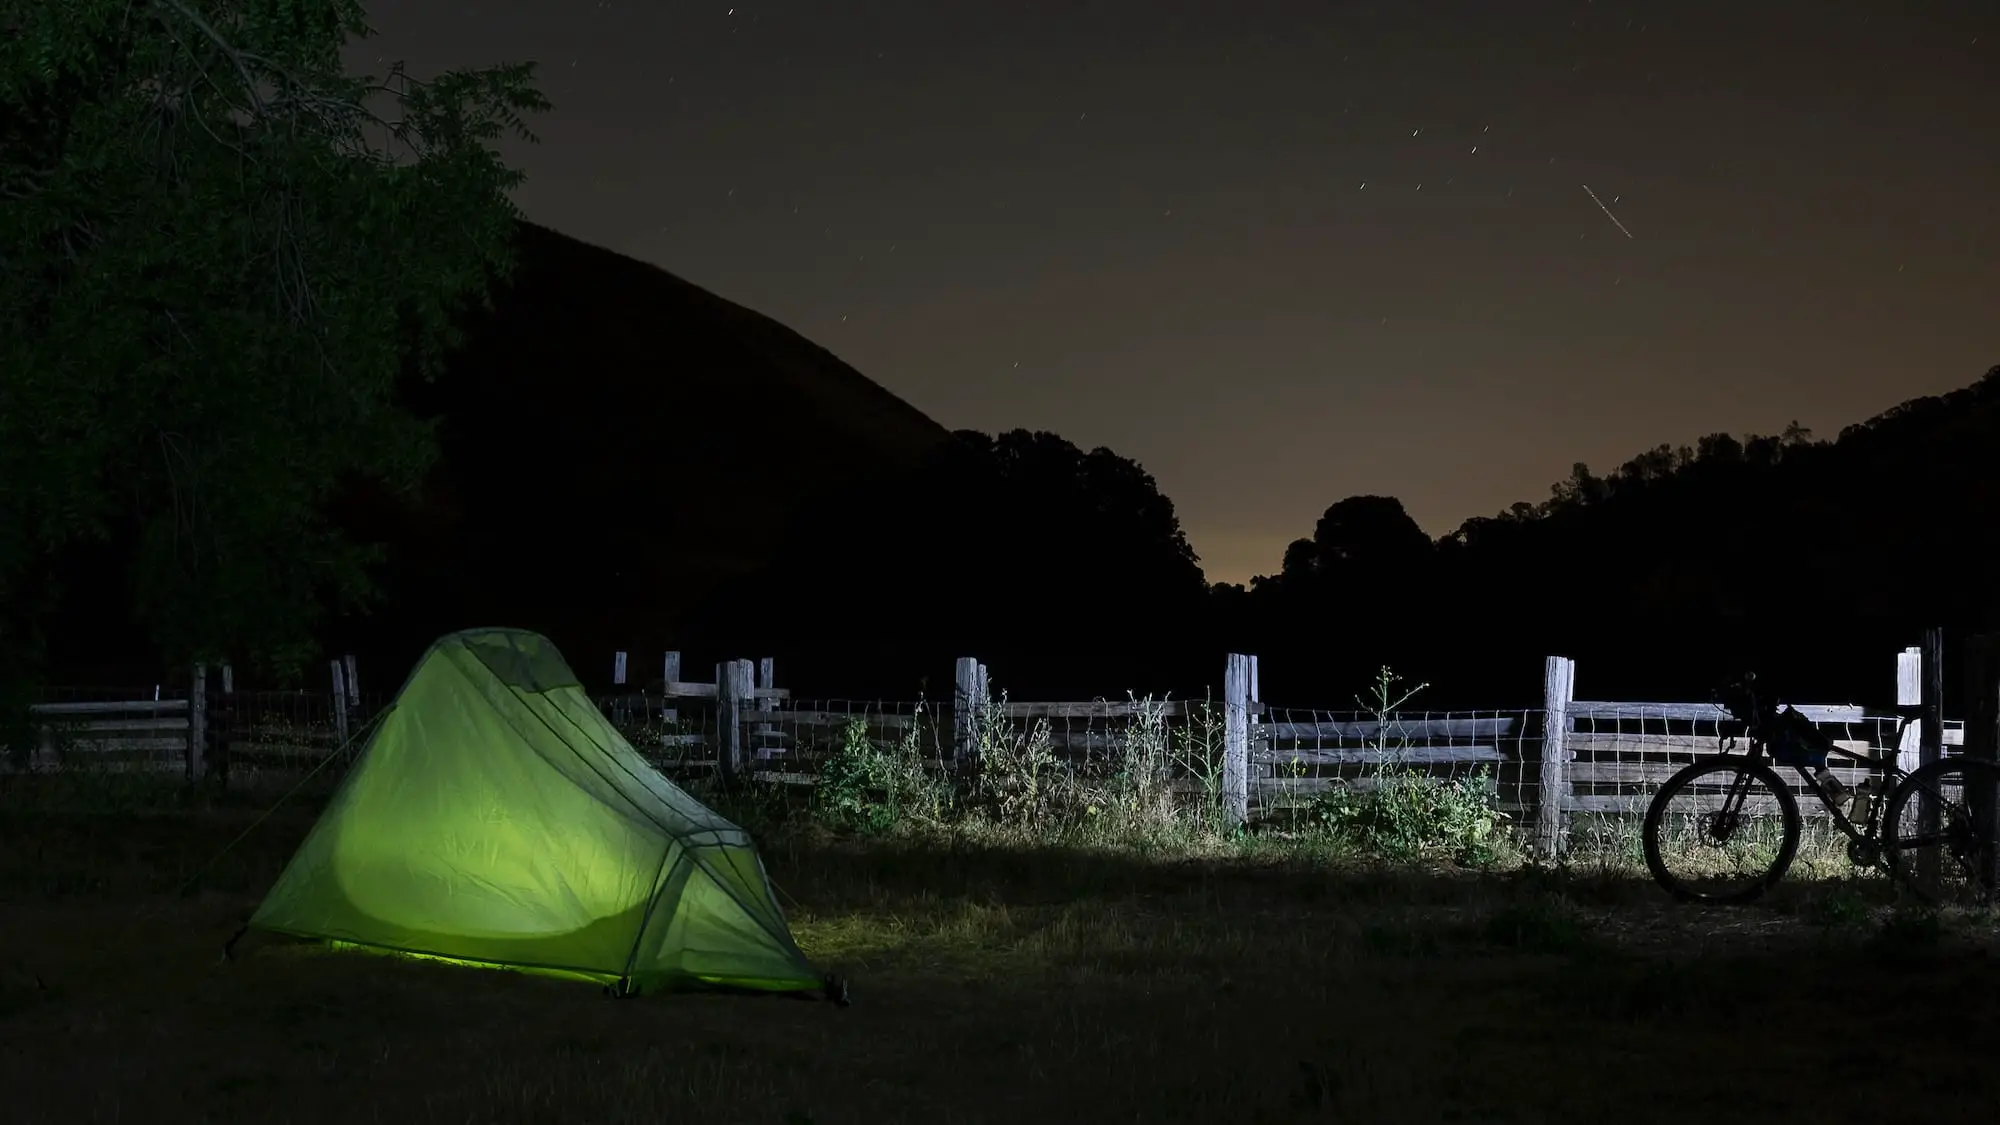
Perhaps the most compelling question in any bikepacking trip: Where will you sleep? This is where the importance of logistics comes in. The amount of time you spend biking and setting up camp should be considered when planning your bikepacking route. Here are some tips to remember when biking at night.
Lesser known campsites are the best way to go. Sure, mingling with other campers is fun, but sometimes it spoils the bikepacking experience. As an alternative, hiker huts are often listed in GPS trail apps like RideWithGPS.
If your bikepacking route does not take you to a campsite, there are vast areas of public land that await you. In the US, there are many types: National Forests, National Parks, game reserves, and state public land, among others. These locations have different rules for camping (if applicable) so be wary of those. No matter where you stay, leave the area as it was before you settled in.
We mentioned loop trails earlier. Loops are routes that begin and end in the same place. These are popular because it lessens the amount of planning you need to accomplish. Planning a loop route entails that the starting/endpoint of your trail should be safe and accessible.
Some routes are unbelievably long or may require you to move from one place to another via another form of transportation, be it a ferry or the Amtrak. Public transportation is usually accommodating toward bikepackers, especially those that operate within frequented trails. Contact these services ahead to ensure smooth travel.
Of course, we can’t forget about food supply. Many established trails, especially those that run along historical places, already have small diners (and even breweries) anticipating your arrival. Plan your bikepacking route so that it briefly passes through an urban area. You can replenish your food and liquids in convenience stores or gas stations. Don’t know where to put your supplies and provisions? Check out these biking bags!
There are many ways to make your trip memorable and exceptional. After you have familiarized yourself with the basics of route-planning, take it up a notch by adding places of interest to the itinerary. They don’t have to be famous landmarks; they can be undiscovered bodies of water or a peculiar grove of trees. Thoroughly check an imaged GPS map (such as Google Earth) to be sure!
Stitch it all together by mapping it out (yes, literally!) Review all pitstops and additional transportation modes. Make sure all provisions, especially for bad weather, are ready. Happy biking!


