If you’re wondering about how to install a bar wrap, you’ve come to the right place.
Installing a bar wrap doesn’t have to be complicated. It’s just a simple process that requires a little patience to accomplish. In this article, we are going to teach you how to install a bar wrap so you can get back on the road right away.
Step 1. Prepare the Tools You Need
Installing a bar wrap requires some standard bike tools:
- Tape measure
- Scissors
- Sharp knife or a razor blade
- Bike stand
- Electrical tape
- Allen wrench set
Step 2. Clean Your Drop Handlebars
After you’ve prepared the tools you need, make sure to clean the surface of your drop handlebars. You can use your favorite cleaner and a clean rag. Make sure the handlebars are dry and free of any residues.
Step 3. Positioning the Brake Levers/Hoods
If you are replacing your old bar wrap, the hoods/brake levers should be in the right position already. You need to position the brake levers/hoods if you are installing a new bar tape for the first time. You can use an Allen wrench to loosen and tighten the hoods.
The position of the brake levers/hoods depends on your preference. Some like them farther down, while others prefer the brake levers parallel to the ground.
Step 4. Securing the Brake Lines
Once you’ve positioned the hoods according to your preference, the next step is to secure the brake lines to the handlebar. Some bikes have a hole in the bar for this purpose. If your bike doesn’t have one, use electrical tape to secure the brake line to your drop bars.
Step 5. Installing the Bar Wrap
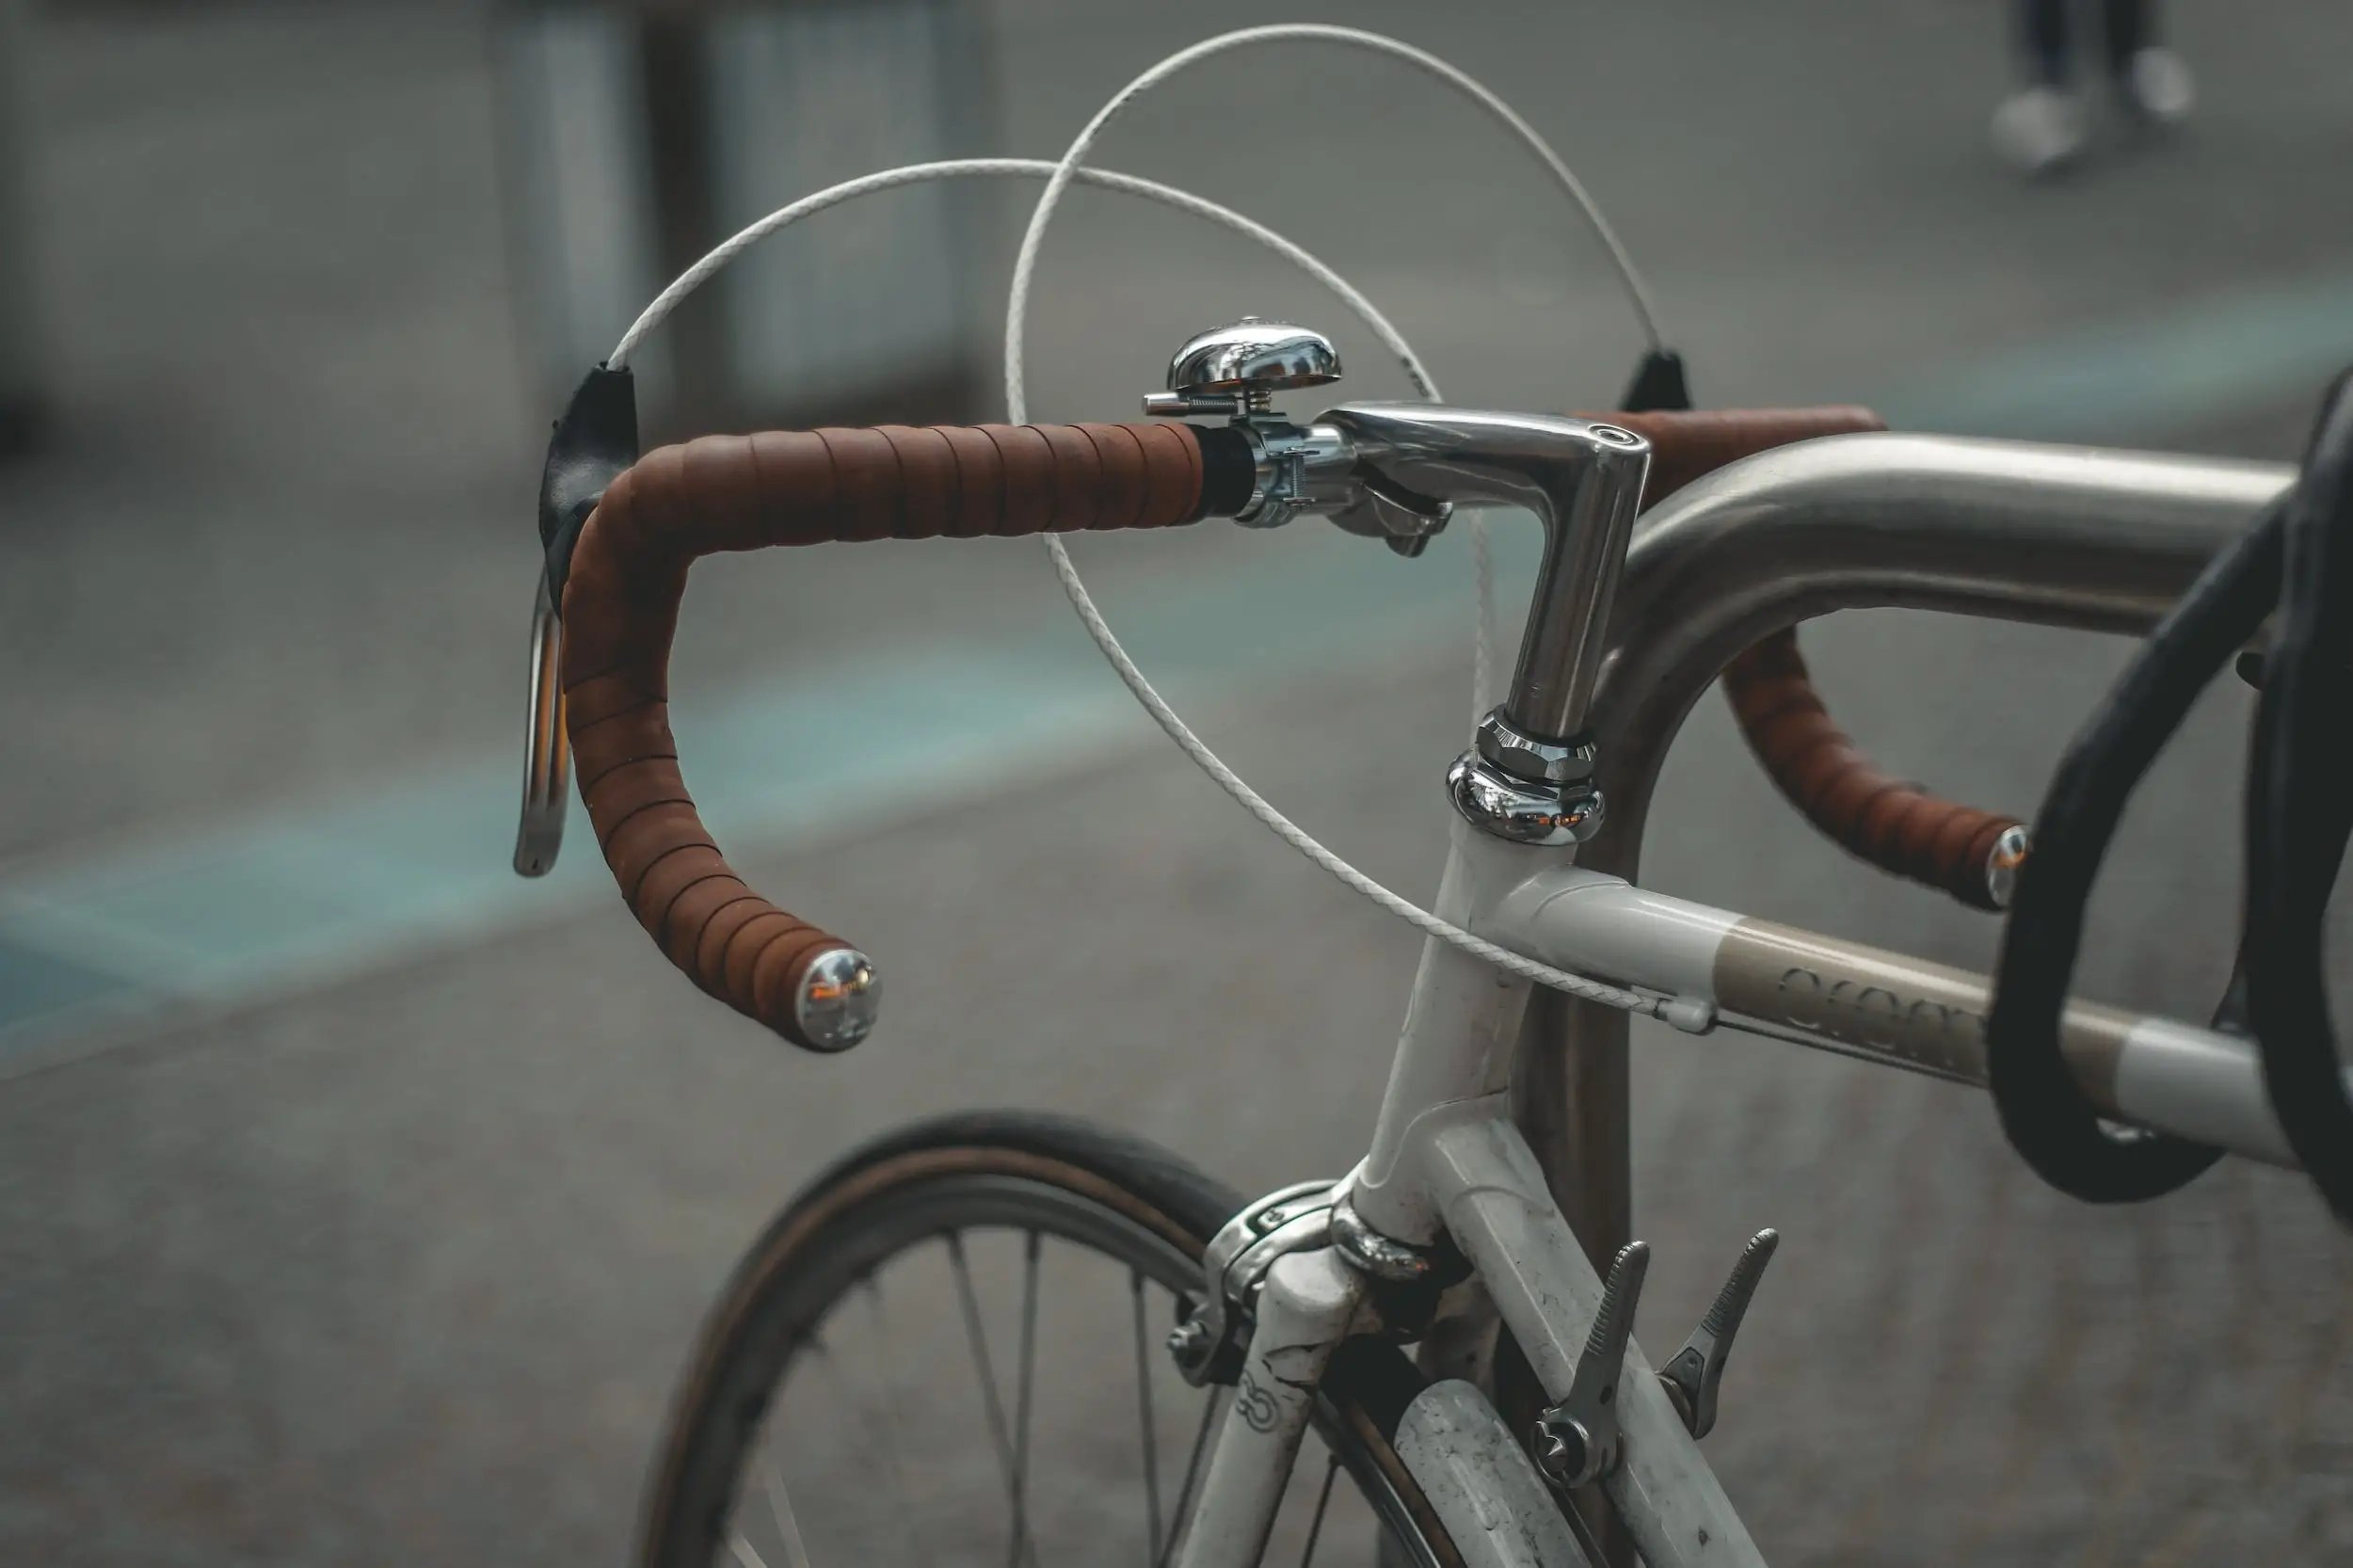
With your brake levers in the correct position and brake lines secured, it’s now time to install a bar wrap. Start wrapping the bar wrap on your drop bars. Make sure to leave enough overhang at the end so you can put a bar end cap later. This technique ensures a clean installation because you don’t have to cut the beginning of your bar wrap. The compression between the handlebar and overhang bar tape is enough to hold the end cap securely in place.
Most bar wraps come with adhesive backs. If yours don’t have one, you can attach a double-sided tape at the end of your handlebars to keep the wrap in place. There are many techniques available when it comes to bar wrapping direction. Choose the one that works best for you.
Never install a bar wrap without planning first how you want the result to end up.
Step 6. Installing the Bar End Cap
This is now the perfect time to install that bar end cap. But wait, I’m not done wrapping yet! It’s alright. Doing this makes sure that you have left enough overhang tape at the end of the bar. The last thing you want is to finish wrapping the bar tape only to realize that there’s not enough material to secure the bar end cap. In that case, you’ll have to start over again.
Once the bar end cap is secure, continue wrapping. Make sure that you pay close attention to the patterns you make. Line up everything nicely and neatly. The rule of the thumb is to put more material on areas where you spend most of your time when riding. For example, if you spend more time riding on the hoods than on the edge of your drops, it makes more sense to put more bar tape in this section to keep you comfortable.
Wrap your bar tape as tight as possible, bearing the durability and thickness of your bar wrap in mind. A tight wrap doesn’t only feel good; it also keeps the tape from moving and distracting your ride.
Step 7. Attach the Hood Piece
Once you’ve reached the hoods, you’ll notice that a gap forms as you wrap the bar tape around the brake levers. Most bar wraps come with a small section that is a few inches long to cover this gap. Attach that hood piece by pulling back the hood cover and then wrapping that extra section around.
Step 8. Finish Off Your Wrapping
It’s a good idea to apply an extra wrap right below the hood, around the hood piece, and then above the hood before you continue wrapping the top section of your handlebar. Pause for a moment and inspect the quality of your wrap. If it’s good, continue wrapping your drop bars until you’ve reached the point where you want your bar wrap to end. How far you wrap will depend on your personal preference.
Repeat steps 2-8 on the other side.
Step 9. Cutting Your Bar Wrap
Now that both of your handlebars are wrapped nicely, it’s time to grab a tape measure and measure where you want your bar tape to end. This will help keep both sides symmetrical. Once you’ve determined your cut point, mark your cut line using a sharp knife or razor blade. Make sure to run the blade perpendicular to the bar all the way around. Be careful not to put too much pressure on the blade to avoid damaging your aluminum or carbon handlebars. Remember, you are just making a cut line at this point.
After you’ve drawn your cut line, unwrap the bar tape long enough for you to cut away from the handlebars. Use sharp scissors to cut along the cut line you made.
Step 10. Secure the Bar Wrap
Tightly wrap the end of the bar tape and secure it with black electrical tape. If your bar wraps come with a tape, you can use that too. Do several tight wraps to make sure that the tape is secure and won’t undo itself when you are riding.
Repeat steps 9 and 10 on the other side.
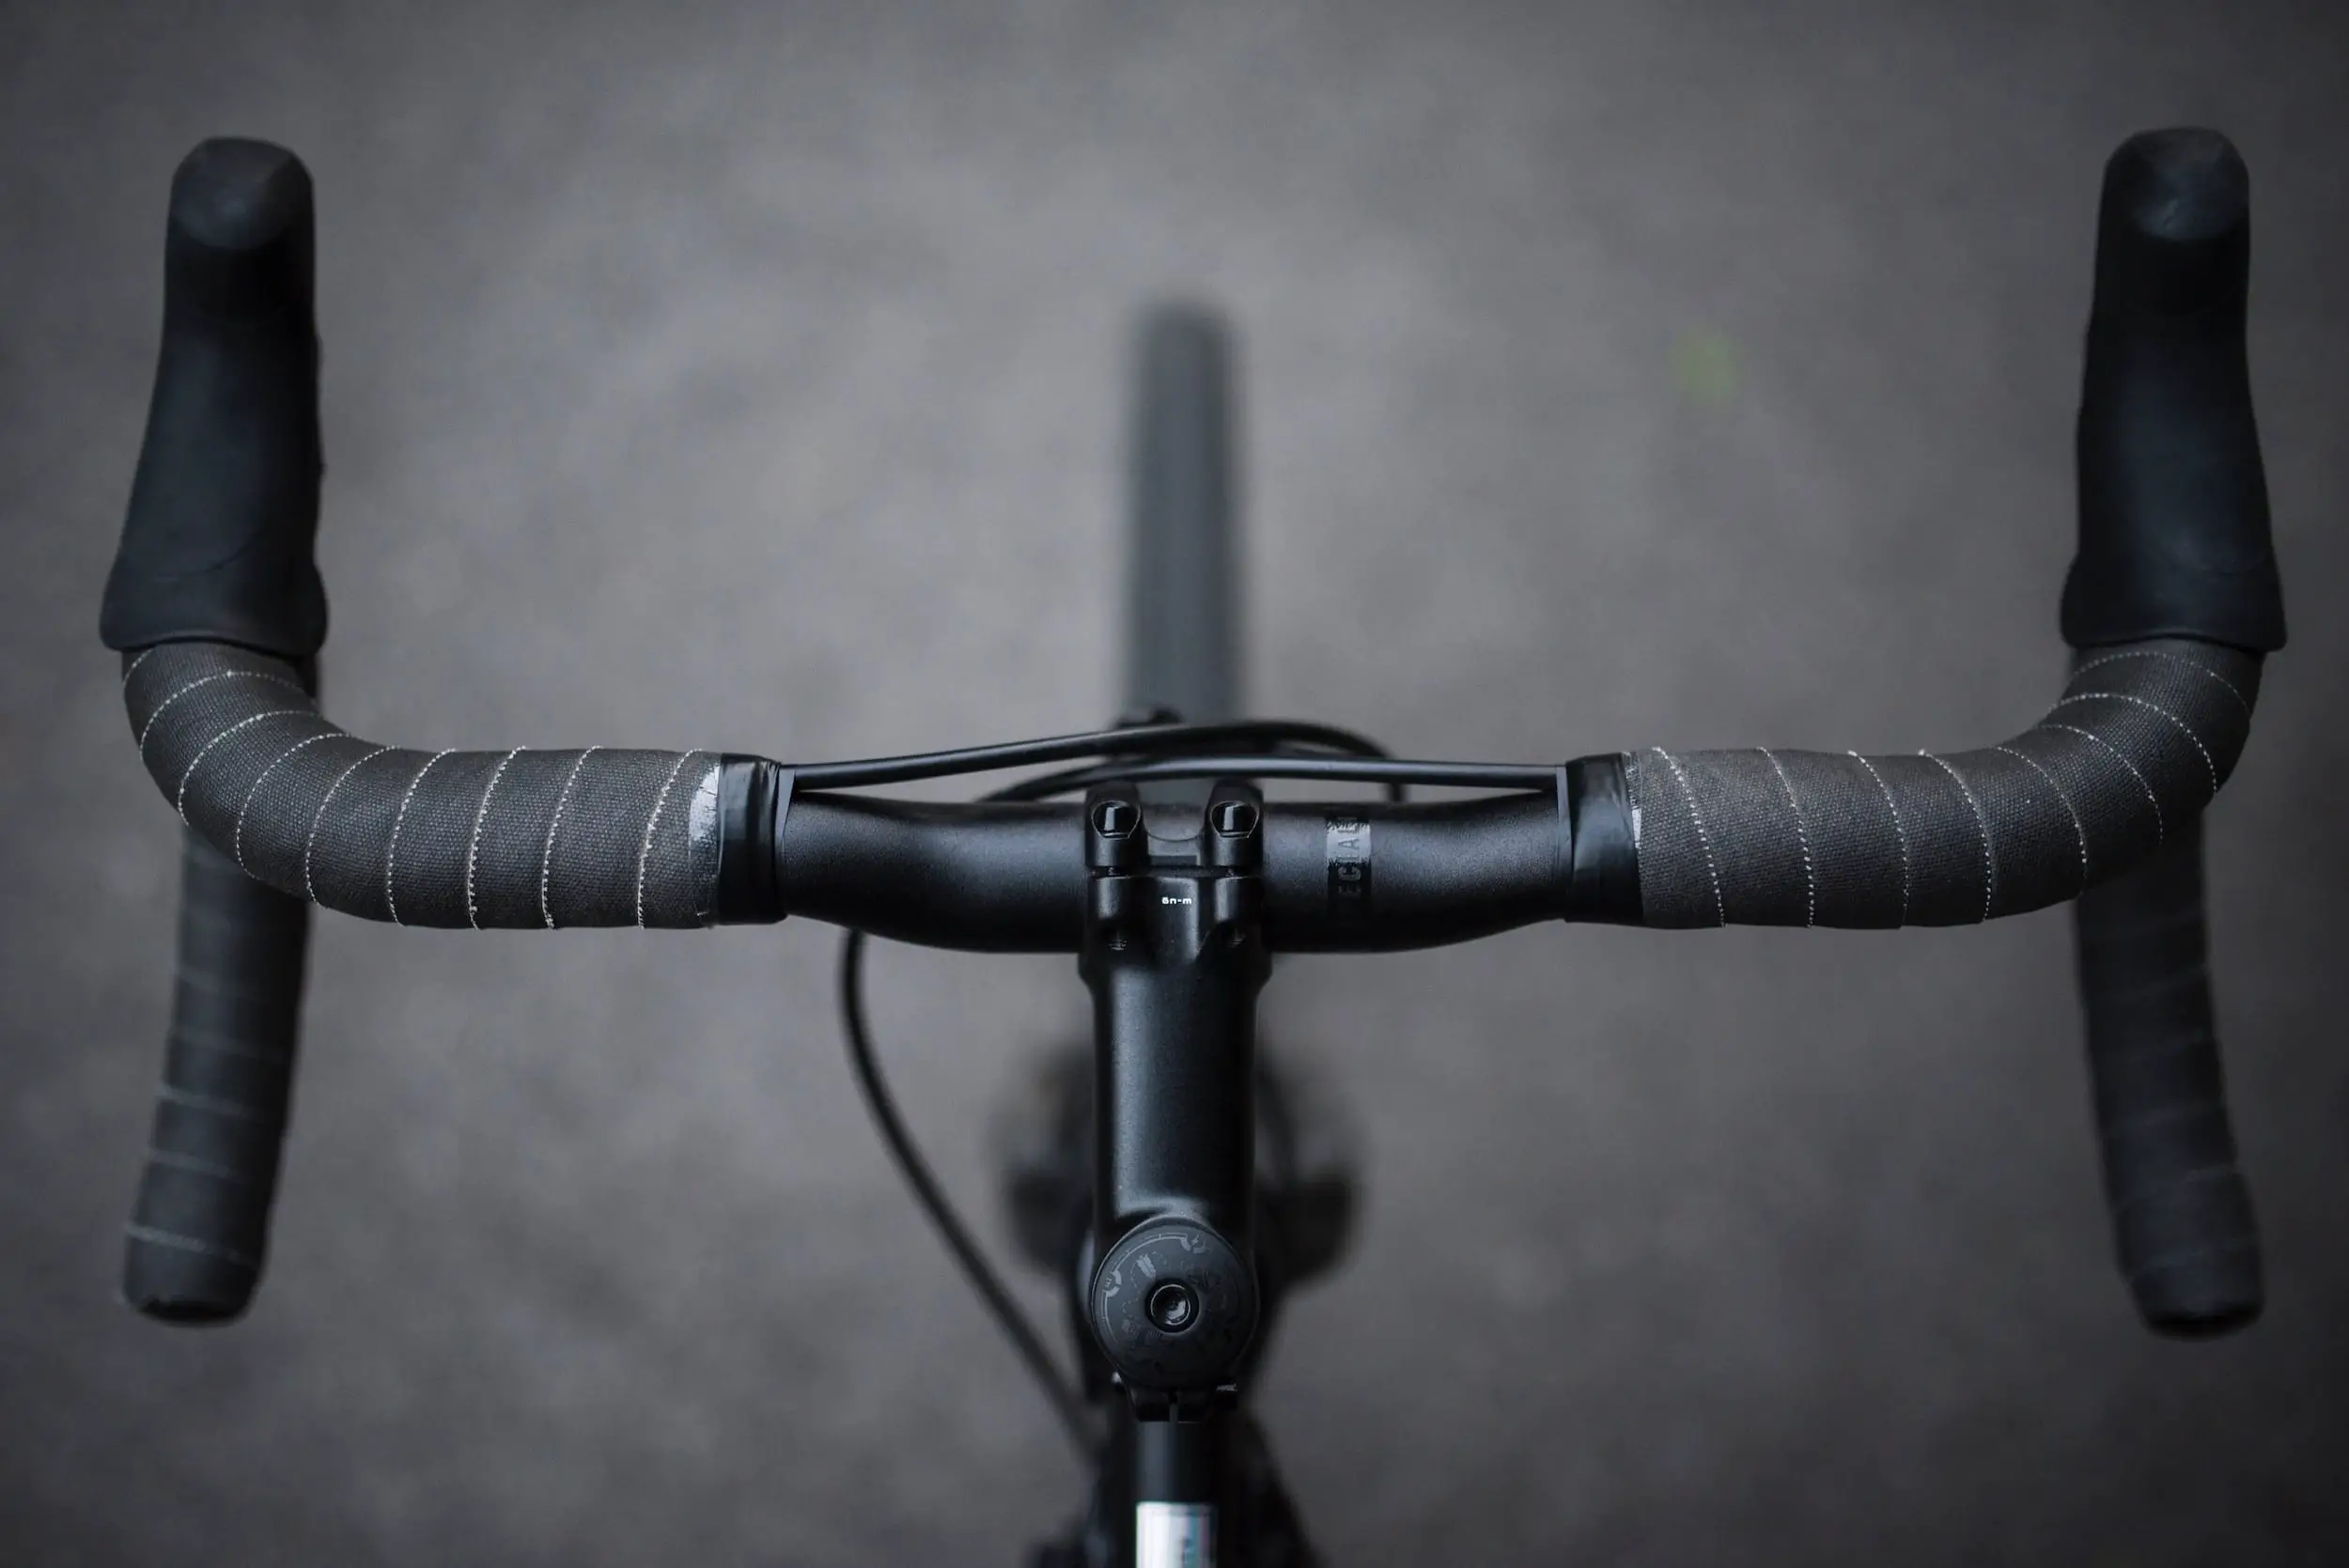
There you have it! If you’ve followed these ten steps diligently, you should end up with a secure and great looking wrap. If you made mistakes along the way, don’t worry. Just unwrap the tape and wrap it all over again. Practice makes perfect!
We’ve compiled a list of the best bar wraps you can buy here.