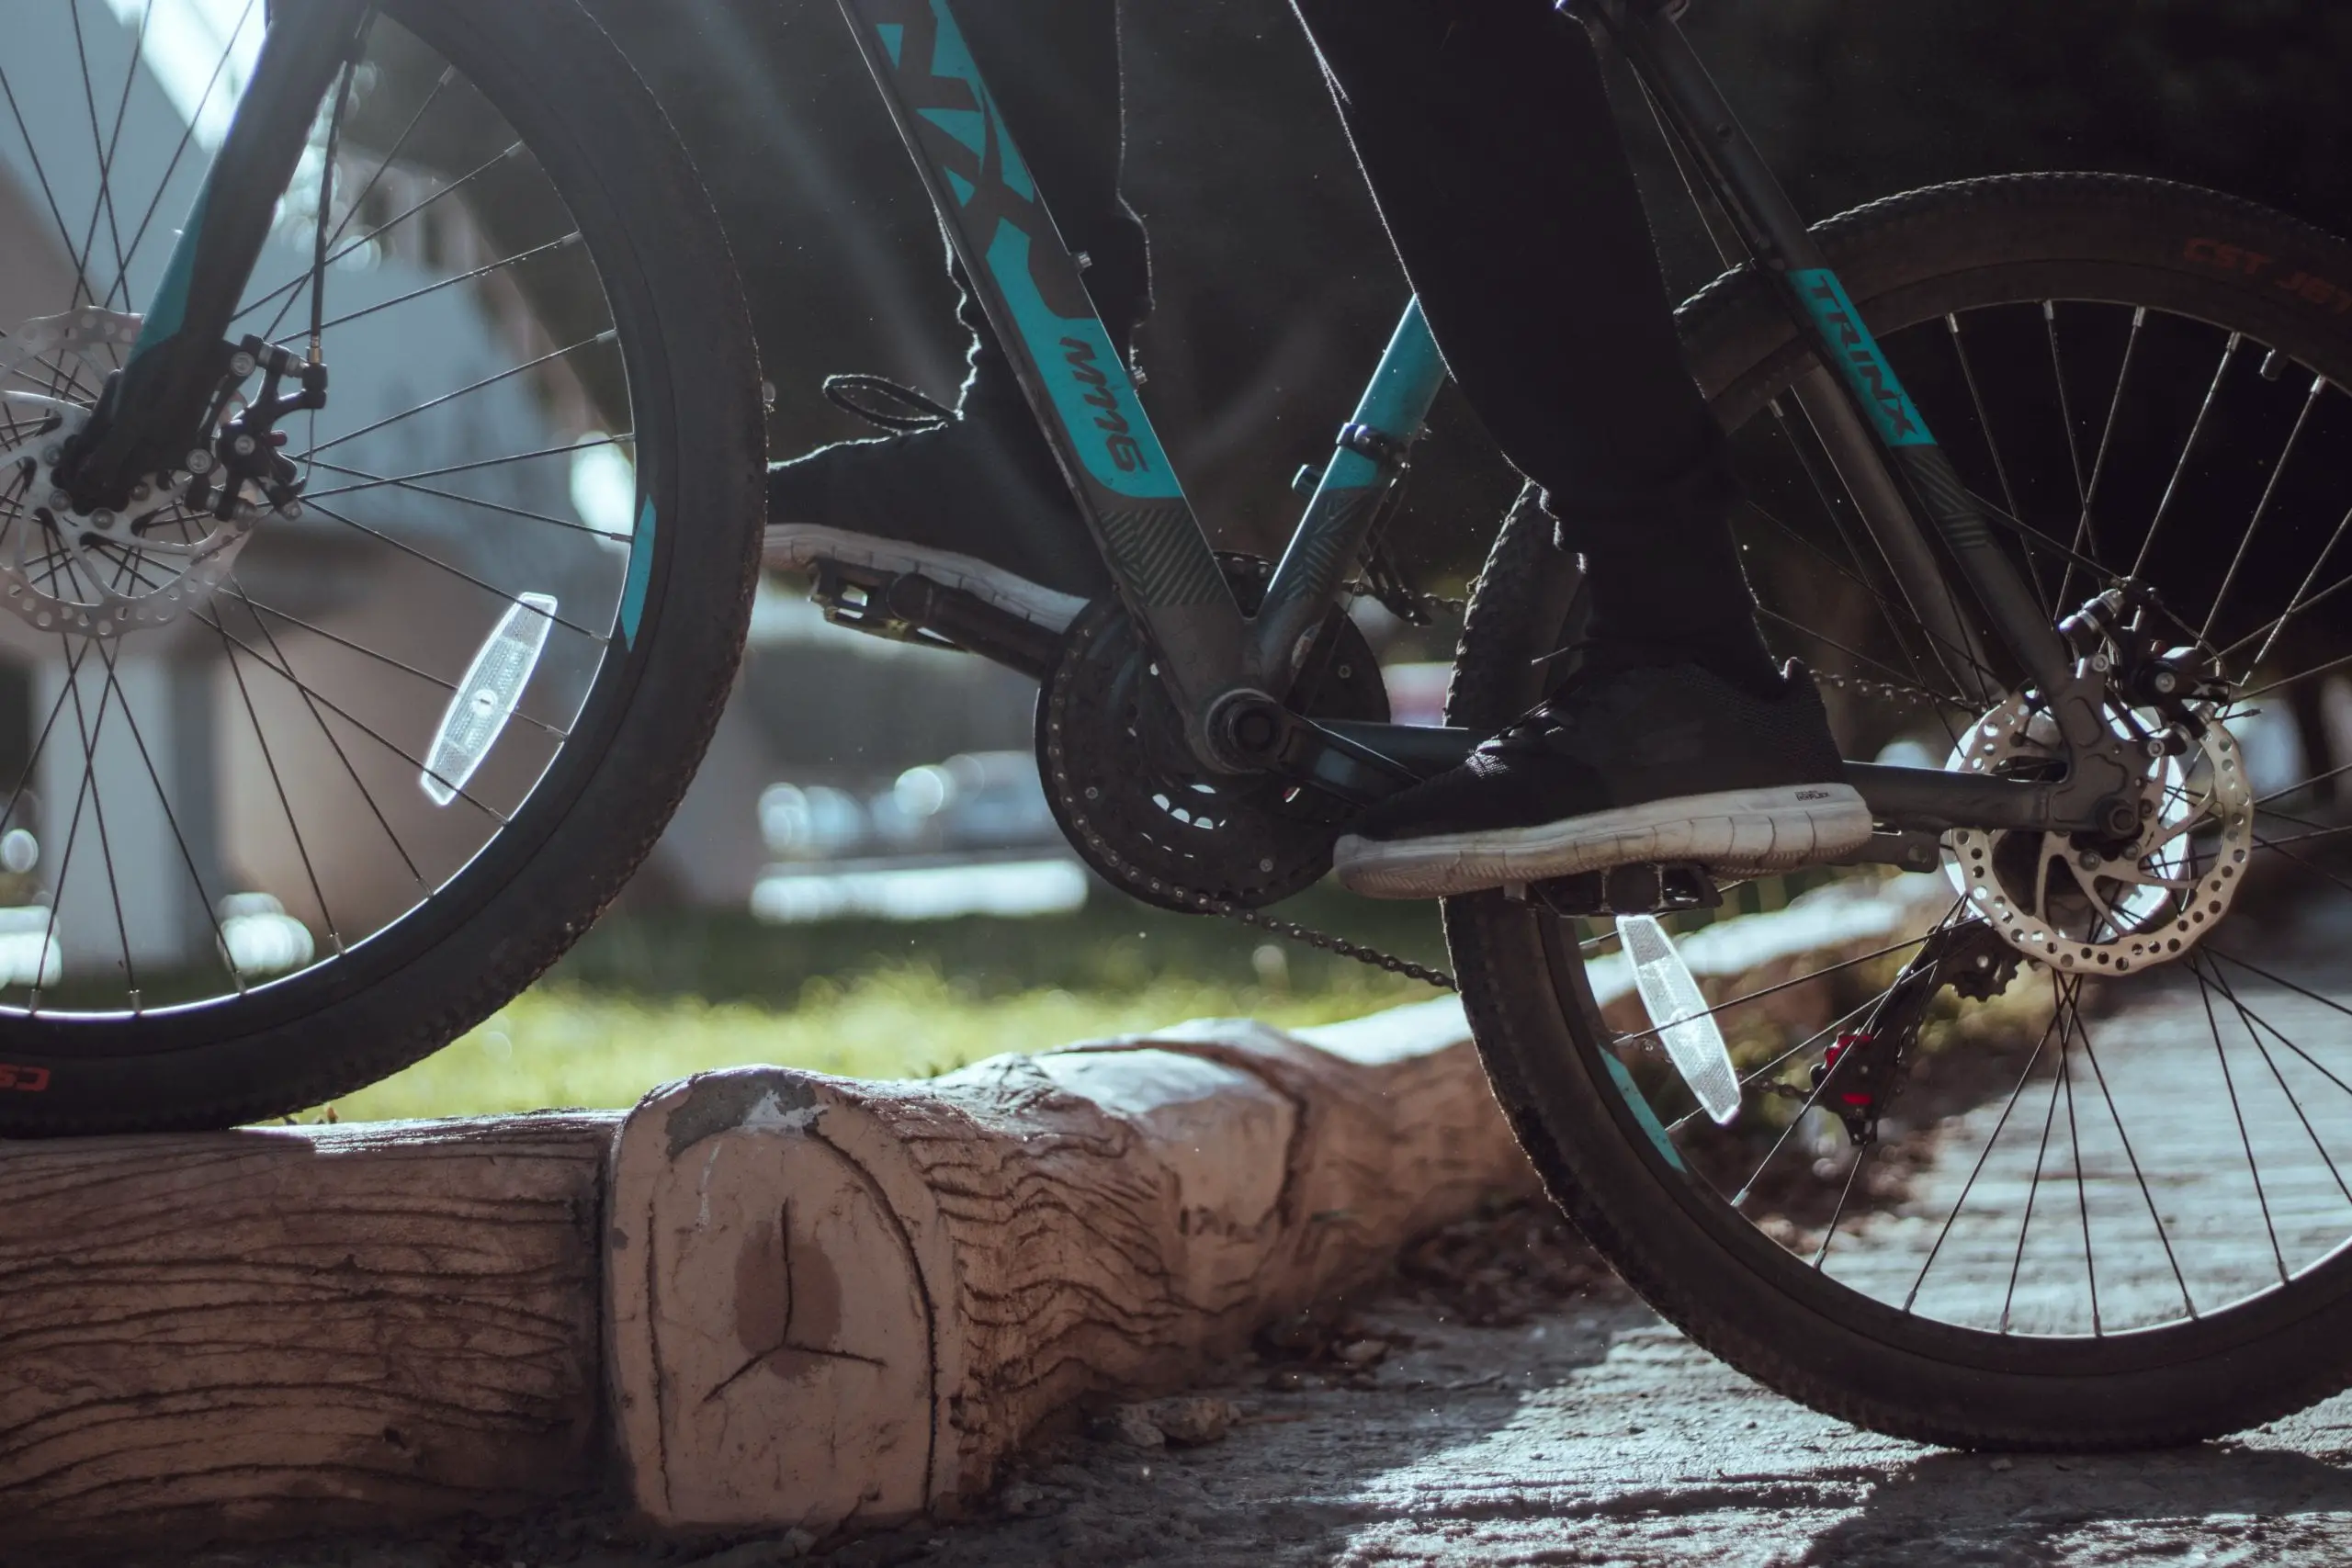
Aside from fixing flat tires, another crucial skill that you need to learn is how to fix a slipped bike chain. A bike chain connects your front and back gears. This set of links, pins, plats, and rollers, allow you to transfer energy from your feet to the bike when you pedal.
Bike chains slip for many reasons. Some move due to crashes, others because of improper adjustments. Fixing a slipped bike chain is pretty easy — be ready to get all greased up!
Putting the Slipped Chain Back
Step 1. Inspect the drive chain
Before putting the slipped chain back, inspect the drive train for damage, bents, and broken pieces first. Make sure to repair or replace these before reattaching the chain. Examine the derailleurs and cassette too for any damage. This step would be a must if your bike chain slipped because of a crash.
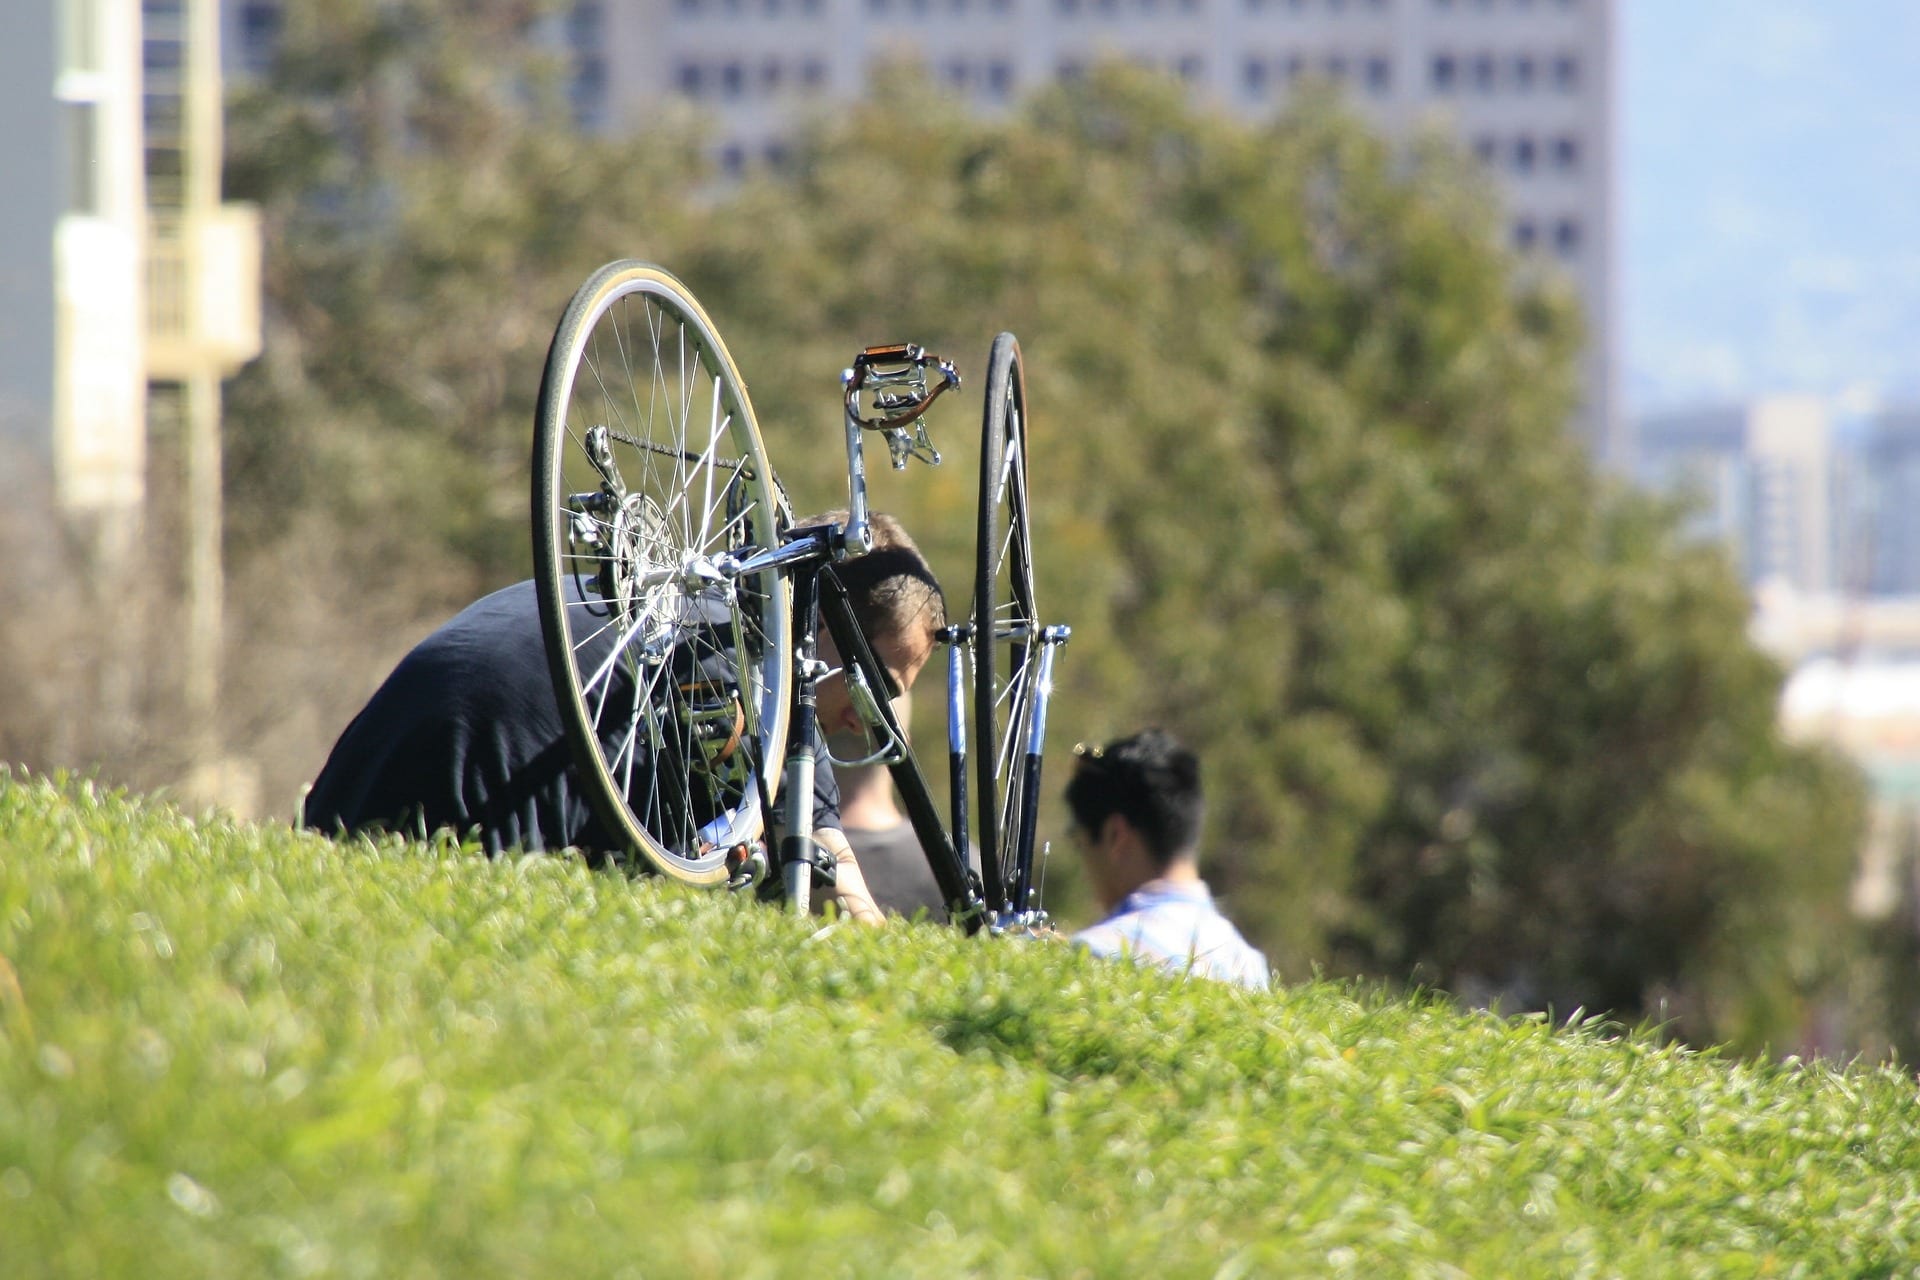
Step 2. Hang your bike on a bike stand
Although you can turn your bike upside down, we still recommend using a bike stand to prevent damage on your saddle and handlebar. If you don’t have a bike stand in your workshop, consider getting one here. Bike stands are indispensable when maintaining or repairing your bike.
Step 3. Look at the gear
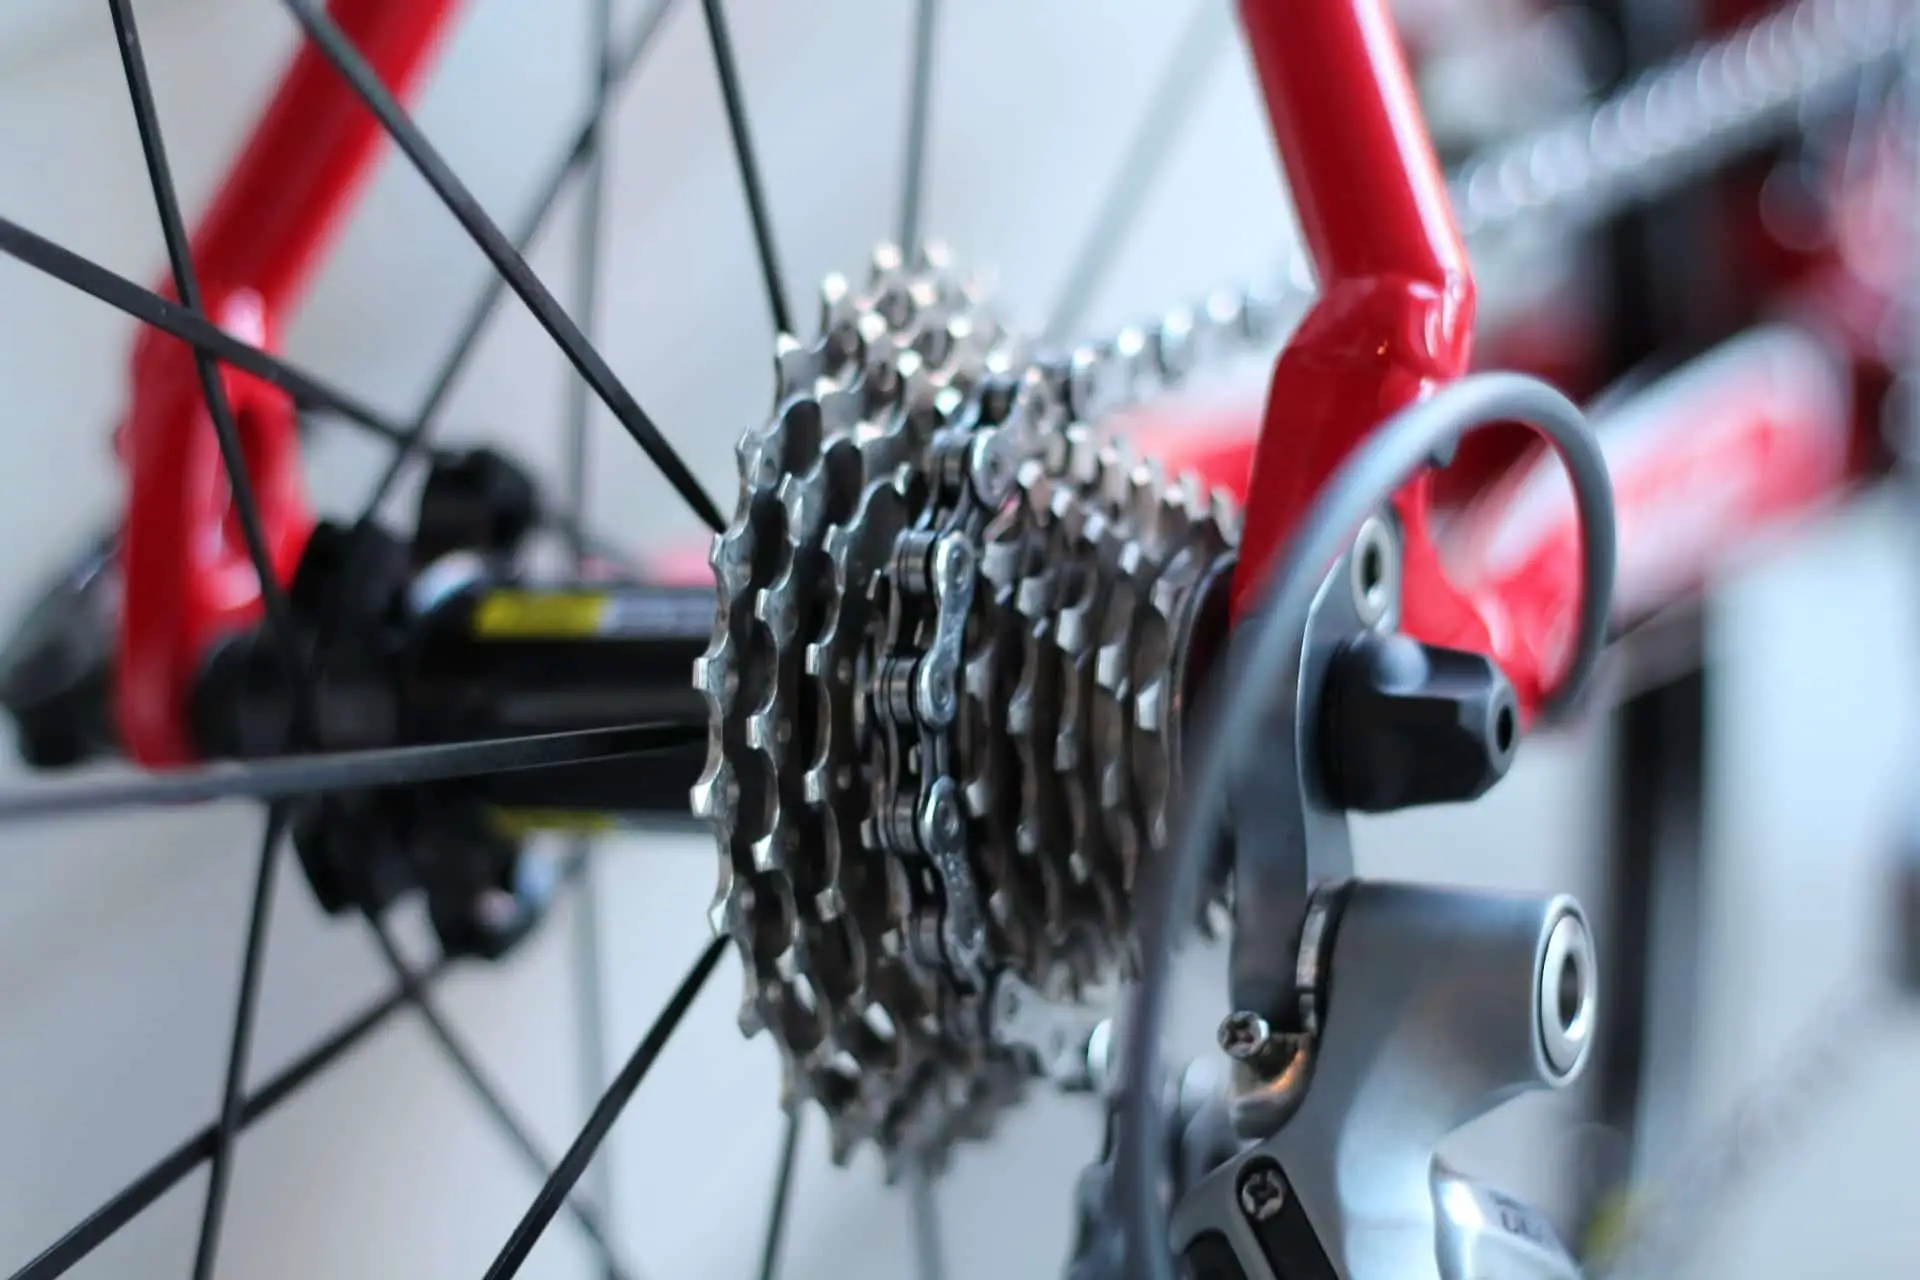
Mountain bikes and road bikes come with gears. These gears are controlled by small machines called derailleurs. There are two sets of derailleurs in your bike — one in front, right next to the pedals, and one at the back.
The front derailleur is a metal bracket that’s adjusted by your left hand. It hovers over the gear your chain should be on. Gear number 1 is the smallest gear and the one closest to the bike.
Your right hand controls the rear derailleur, which is a small mechanical arm that slides back and forth to move your bike chain. Gear number 1 is the largest gear and the closest one to your bike.
Note what gear number your slipped bike chain is resting on as you will put the chain back on this gear in the following step.
Step 4. Putting back the chain
Now that you know which gear to put your chain on, push the rear derailleur arm towards your bike’s handlebars. Usually, there’s a small metal arm at the bottom of the derailleur that allows you to push it with ease. You should see the chain slacking off when you do this.
Using your free hand, pick the chain using two or three fingers and drape it over the right gear. Bring the other end of the chain to the bottom of the front gear and hold it there. You should be able to put at least ten teeth of the gear into the chain without any problem. Once you’ve done this, release the derailleur. If you don’t want to get your fingers greasy, you can use a pen or a stick to guide the chain.
All that’s left now is to pedal your bike backward using your hand slowly. The teeth you attached beforehand will gradually lead the rest of the slipped bike chain. Once you’ve done a full rotation, pedal your bike forward to see if the chain is fully secured.
Preventing Slipped Bike Chains
Slipped bike chains happen even to the best of us. However, if you experience this more often than usual, then there are probably some underlying problems that you need to take care of.
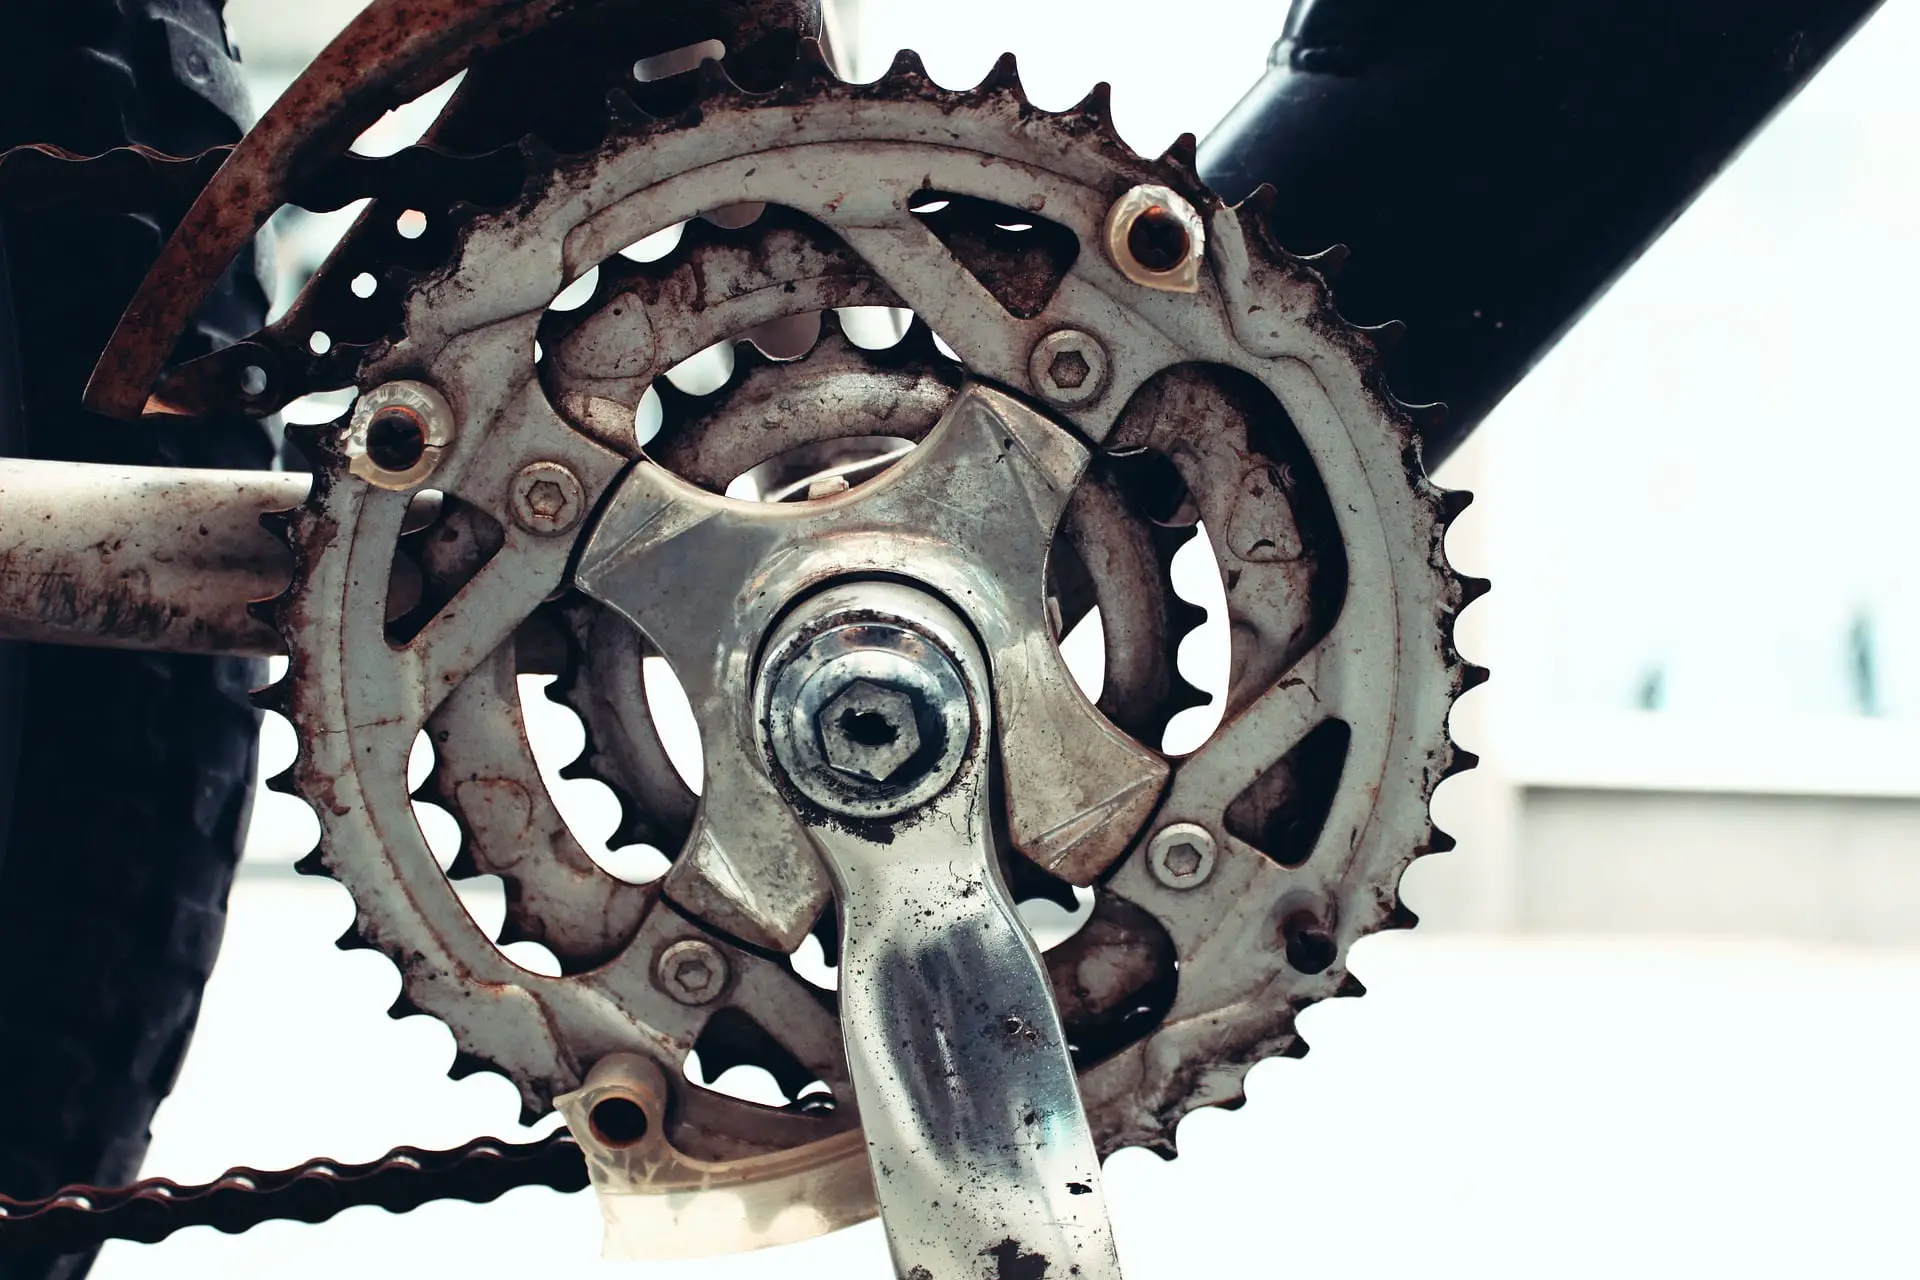
- Check your bike chain for worn out, broken, or bent links. Friction will damage your bike chain and cassette over time. Don’t try to replace individual links as the disproportionate amount of wear could be dangerous when riding. Replace your chain, too, if it’s already covered with rust. When buying new chains, make sure to get the one that’s of the same brand.
- Check your cassette. The cassette houses the gears of your bike and is subject to the same friction damage too. Although they wear out slower than bike chains, it’s still worth checking if you need a new cassette or not. You’ll most likely need a new cassette if your chain is continually sliding off or skipping over gears. If some gears look visibly worn out, you’ll need to get one.
- Set your limit screws correctly. Limit screws tell the derailleur to stop moving. If the limit is too wide, the derailleur will keep pushing the chain in the same direction even though there’s no gear to catch it. Both of your bike’s derailleurs have high limit screws (labeled “H”) and low limit screws (labeled “L”).
- Improper shifting on climbs can also cause your bike chain to slip. Shifting mistakes can put immense pressure on your drivetrain. Remember, there’s a limit as to how far your bike chain can stretch before it breaks or slips. Practice safe shifting techniques like shifting before you climb a hill and easing up on your feet when changing gears.
How to Take Care of Your Bike Chain
Taking good care of your drivetrain can prevent slippage. Dirt, grime, and grit wear down your drive train faster than average — making it more prone to slipping. Frequent cleaning and proper maintenance of your drivetrain can help it last longer. Below are some tips:
- Use a bio degreaser. This powerful soap is notorious against dirt and grime but gentle on your bike chain. Put a small amount on a damp rag and clamp it lightly on the chain with one hand, putting pressure on the top and bottom. Use your free hand to pedal the bike for three full rotations. Repeat the process, but this time, putting pressure on the sides. If you don’t have access to a degreaser, use isopropyl alcohol. Buy bike cleaning products here.
- Clean your gears using a bicycle brush or an old toothbrush. Clumps of grease and dirt can dislodge your chain easily.
- Wipe away visible grime. Get your drivetrain as sparkling clean as you can using your brush and a damp rag.
- Lubricate your chains. After cleaning your bike chain, apply lube to protect it from moisture and dirt.
There you have it! We hope you find this post helpful!